I Has Elevator (Well, almost)
Total Hours: 15.2
Hours Fabricating: 14.4
Fab Hours to Date: 163.9
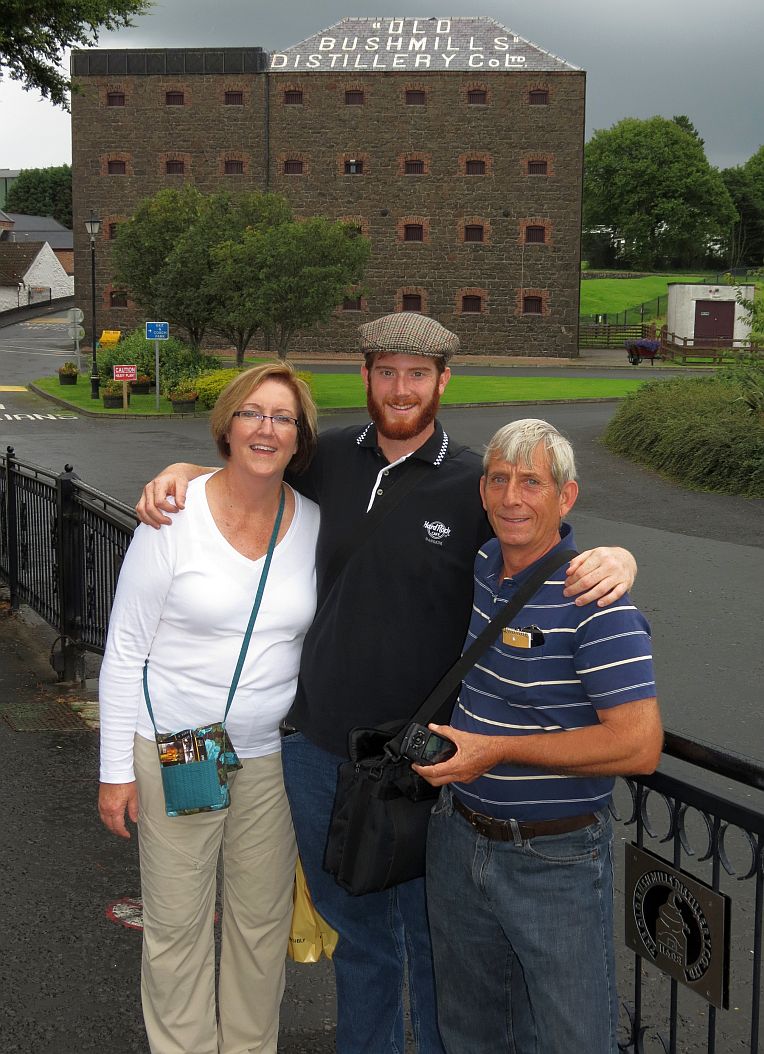
The adventures continued in August, as I took a
2-week break from airplane building and traveled
to Ireland with my Parents and we had a brilliant
time! I felt at home with my People.... Red Power!
10-Aug-12
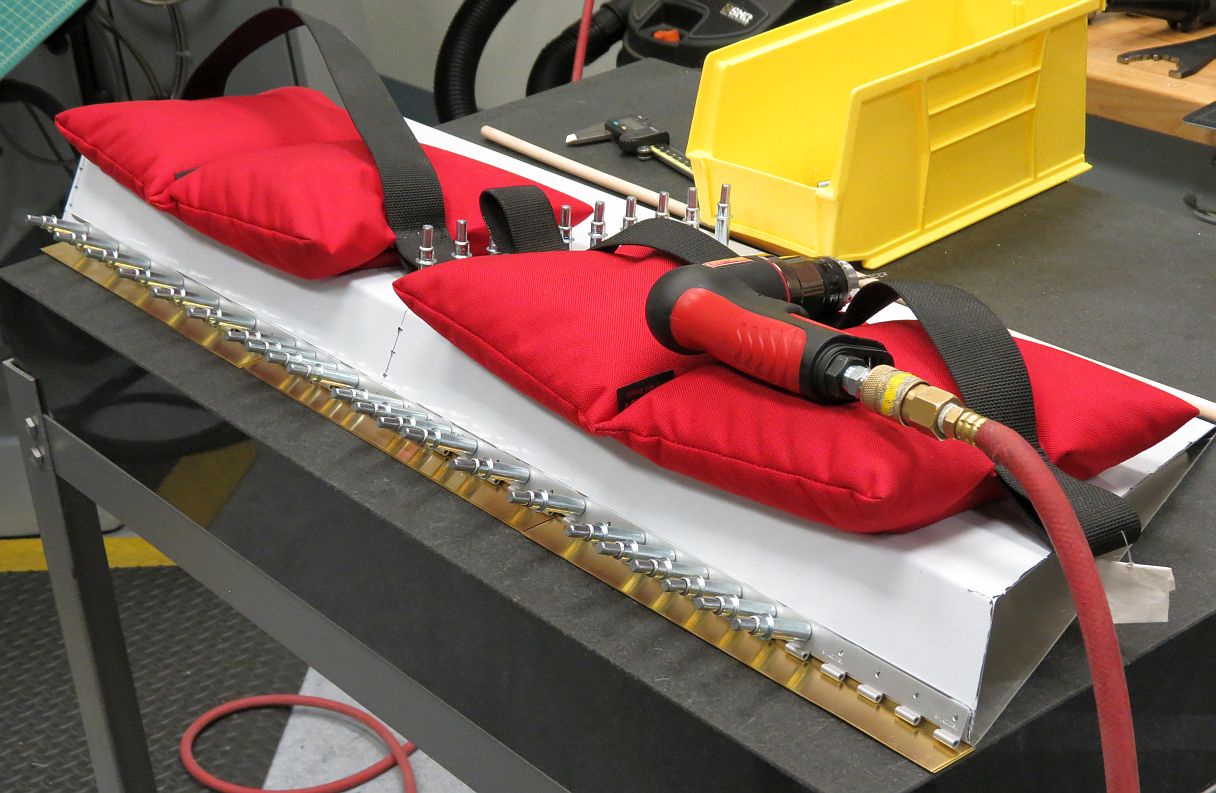
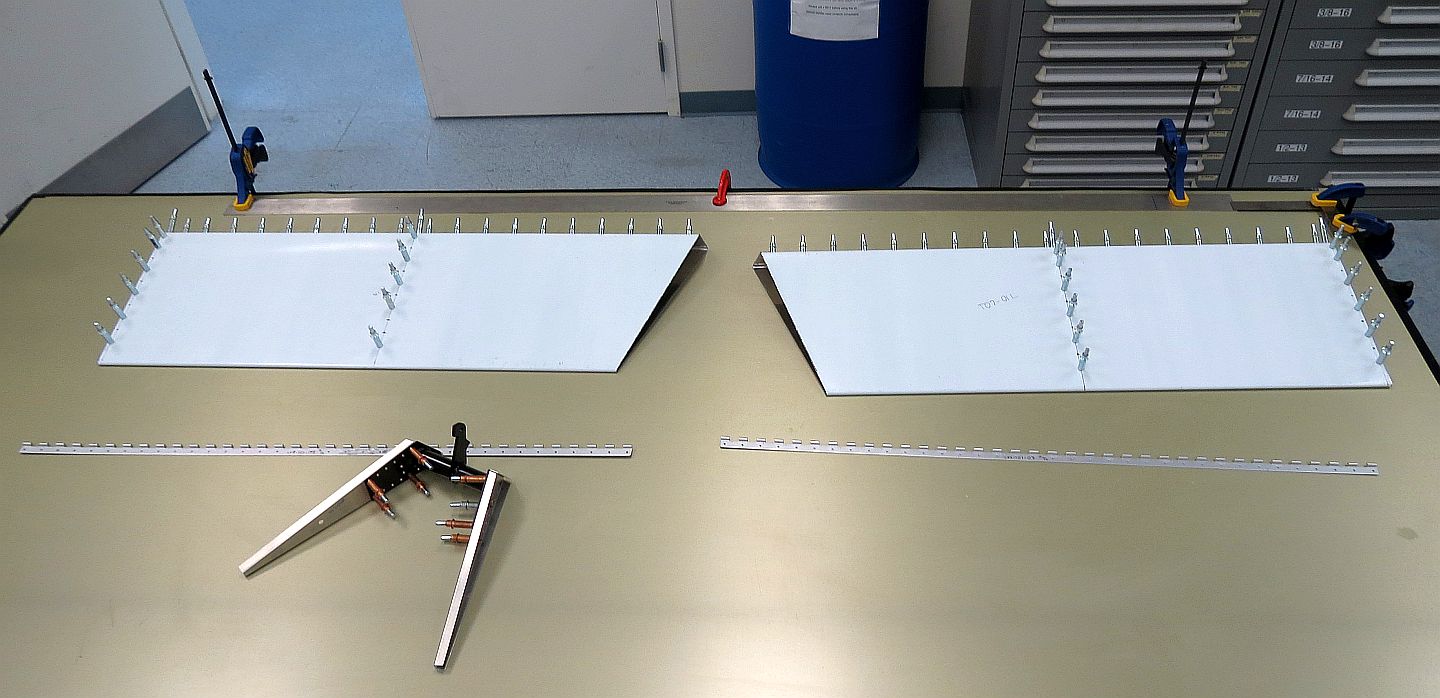
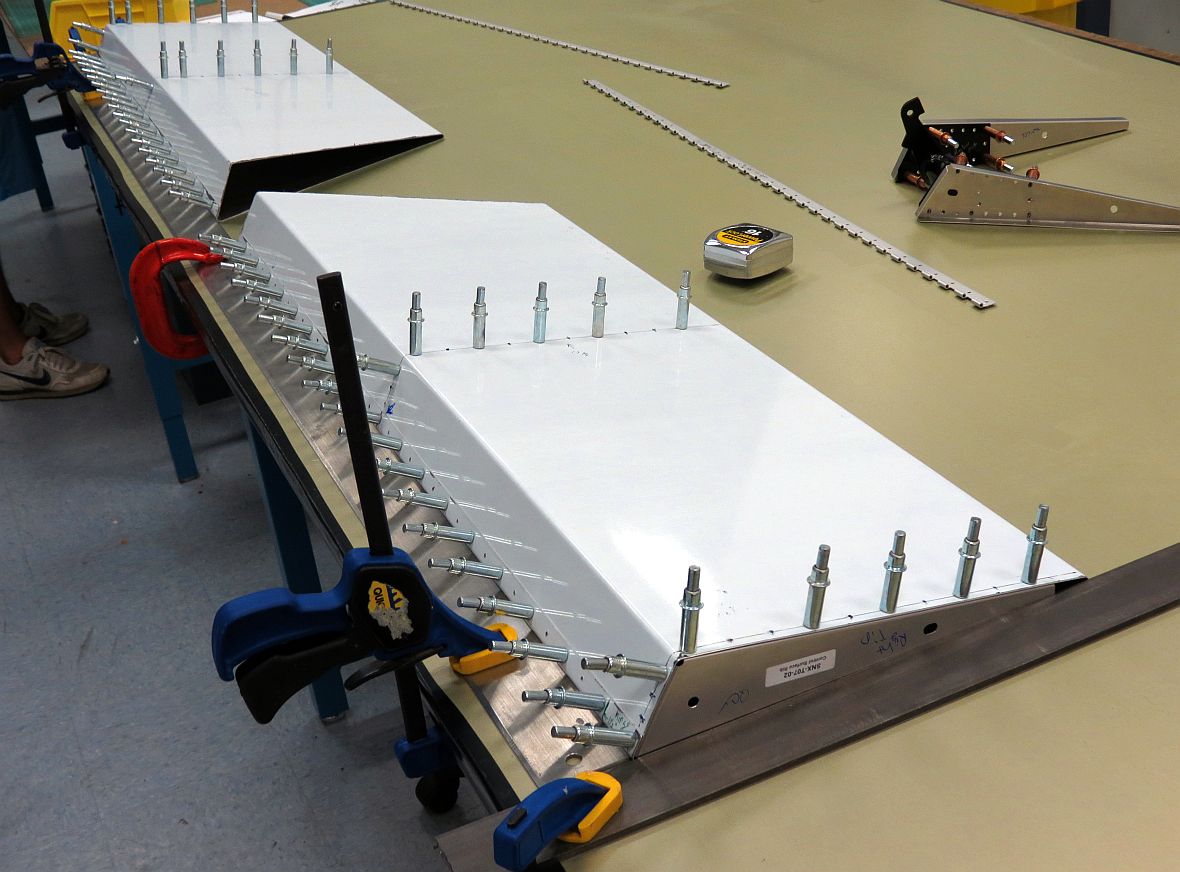
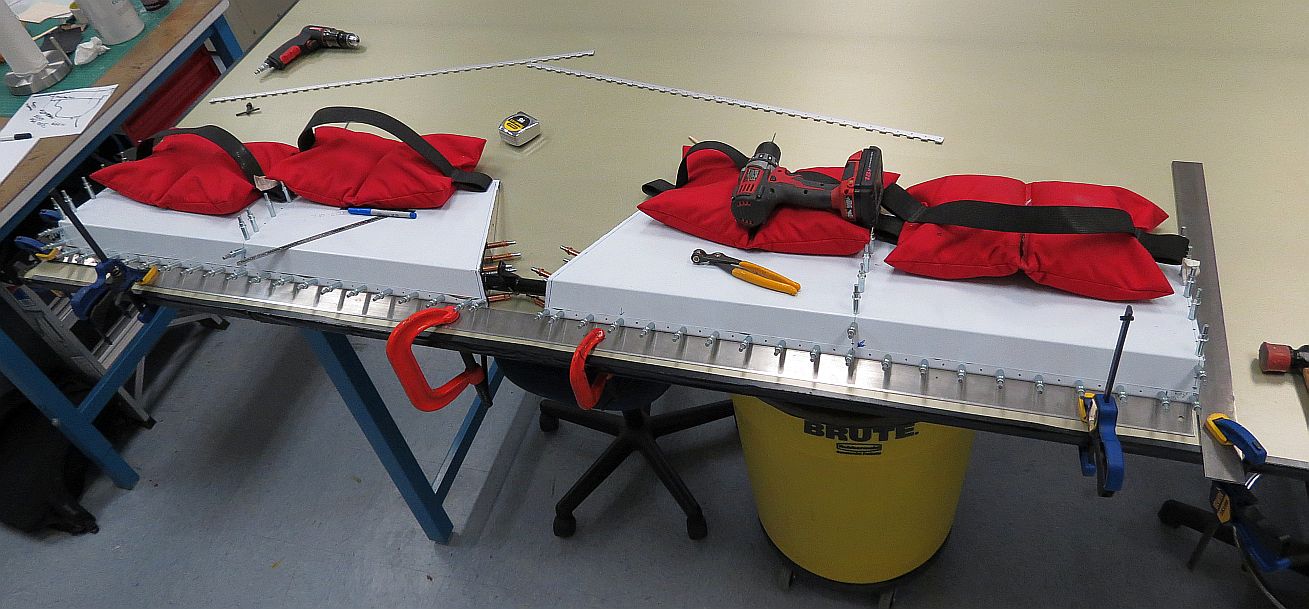
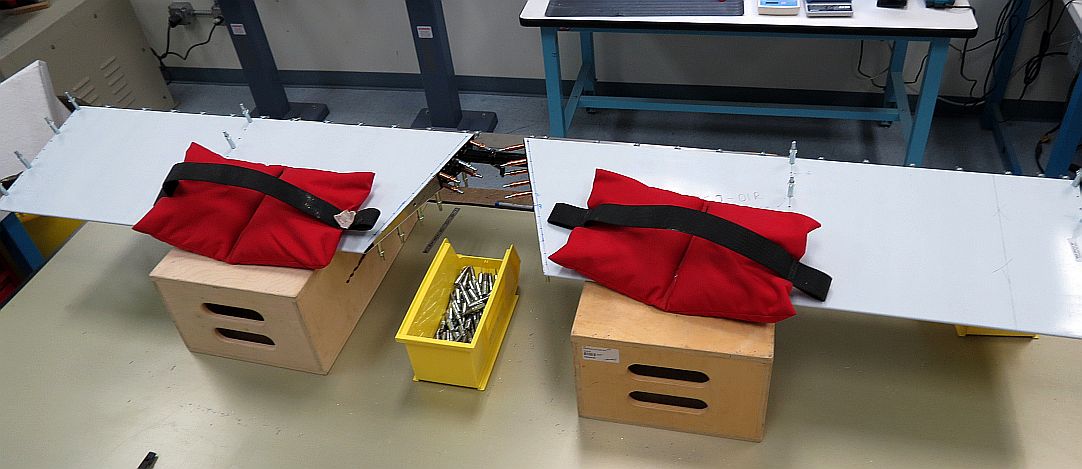
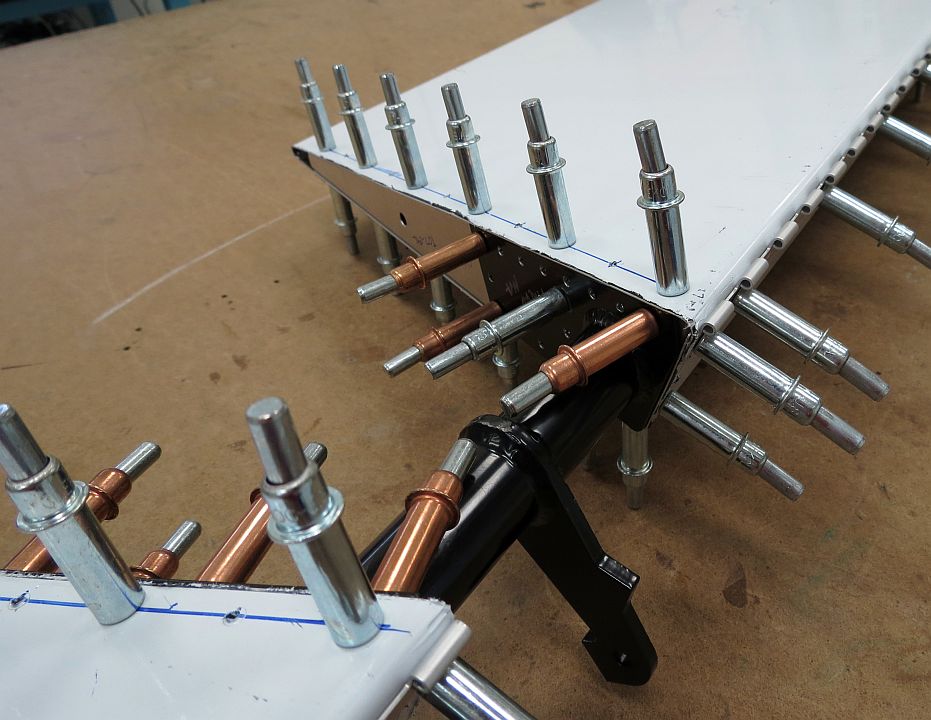
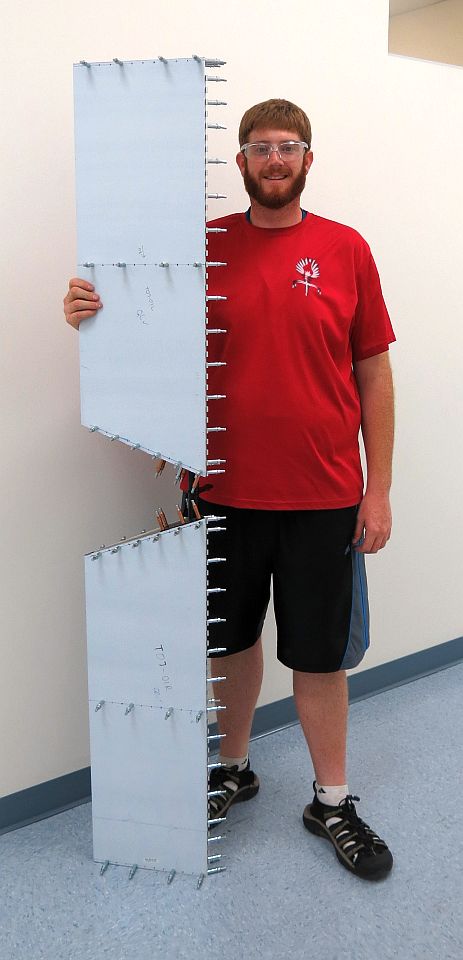
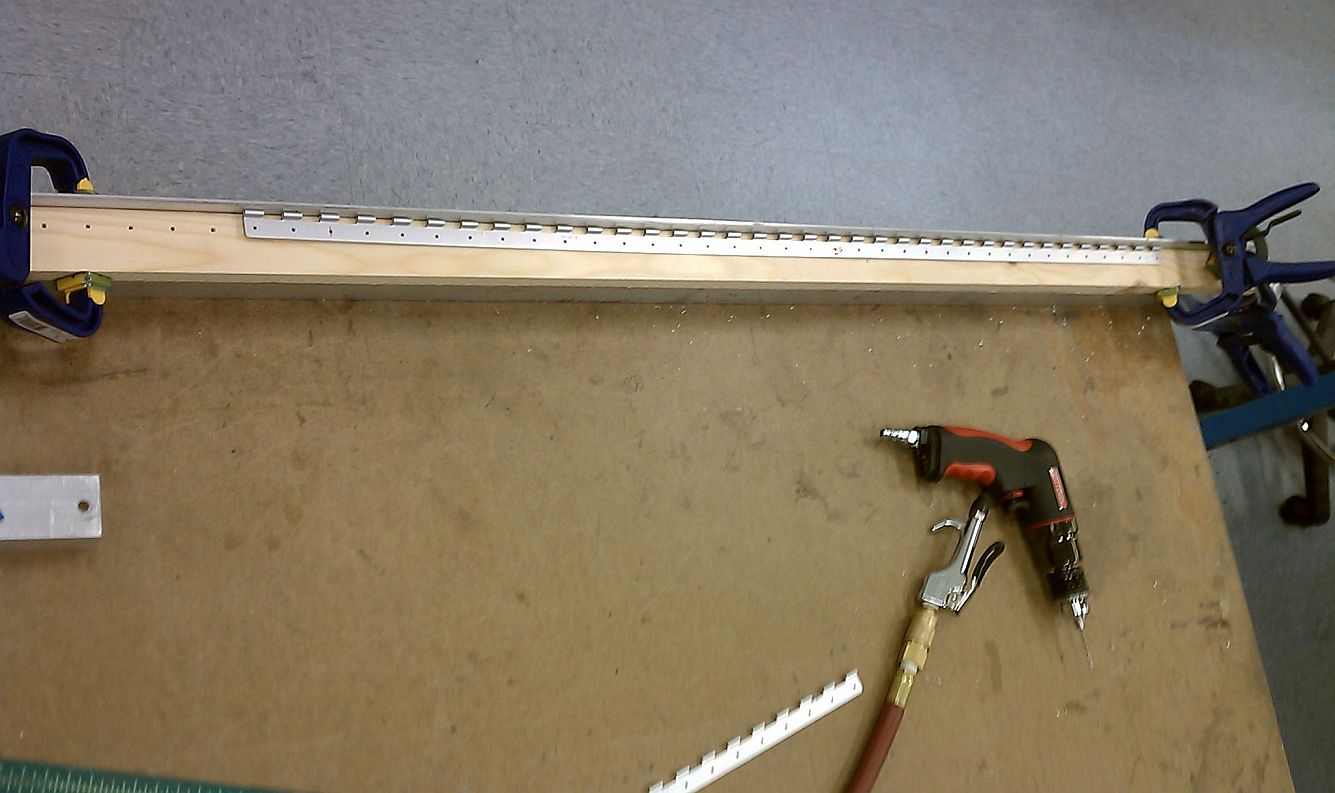
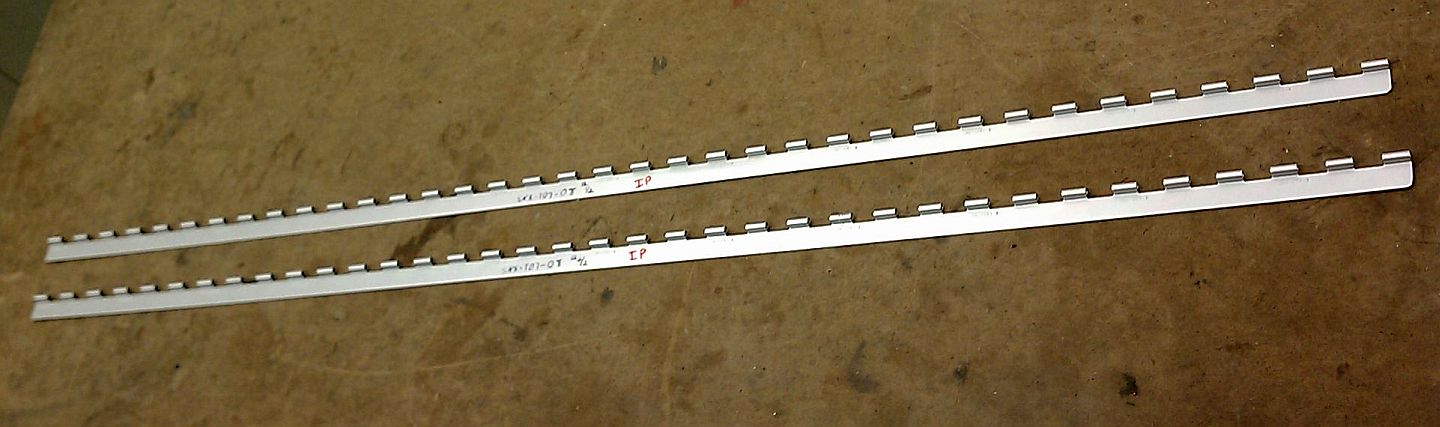
I continued working on the Elevator. I finished drilling and clecoing the left Elevator section. Once complete, I setup a flat table and jig to align the two elevator parts together. I aligned the leading edges and set the span. Once the position was verified, the root/drive rib assembly was positioned and the rivet holes were measured and marked. The rood/drive rib pilot holes were drilled through the skins and ribs.


6-Aug-12
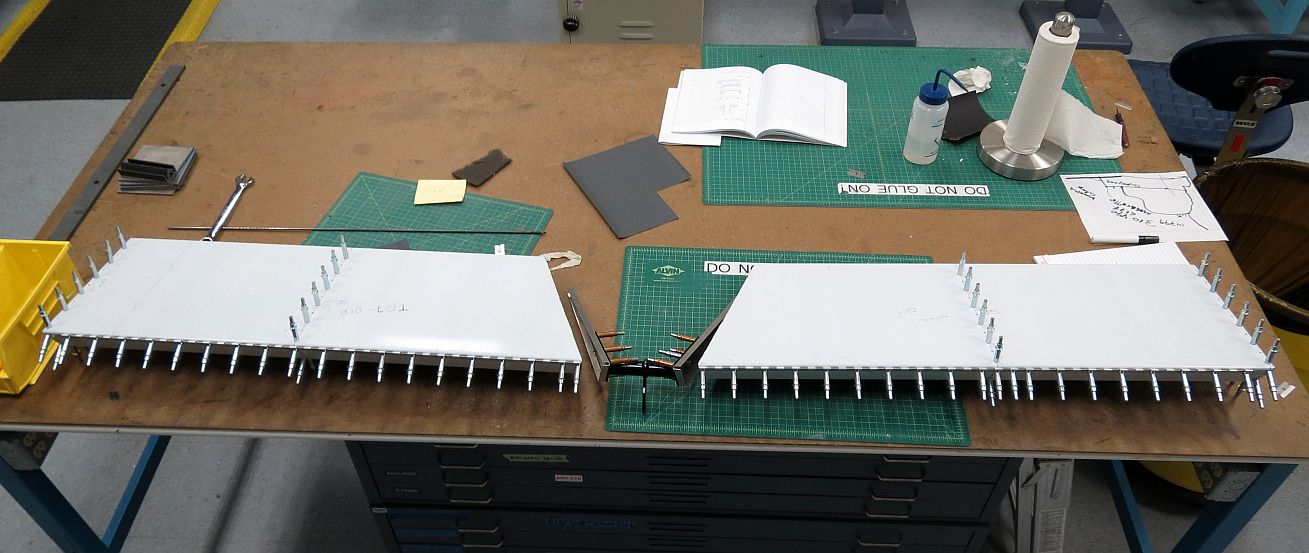
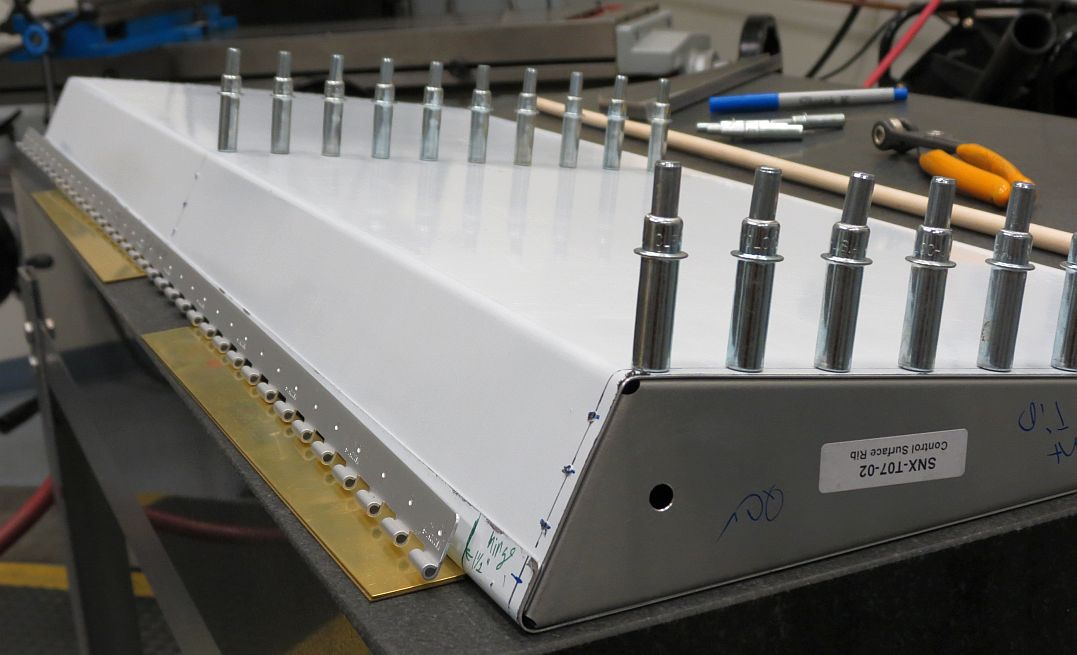
I drilled the center and tip rib pilot holes into the left and right elevator skins. Once complete, I blue lined the center and tip ribs and started aligning and drilling the elevator ribs. I finished the left elevator and began work on the right.

4-Aug-12
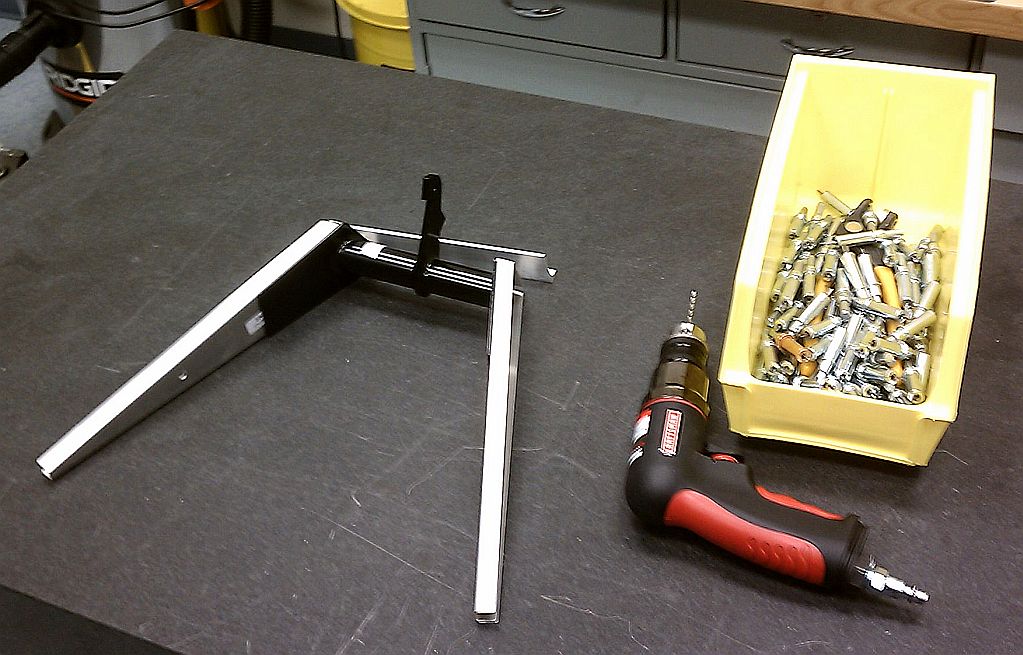
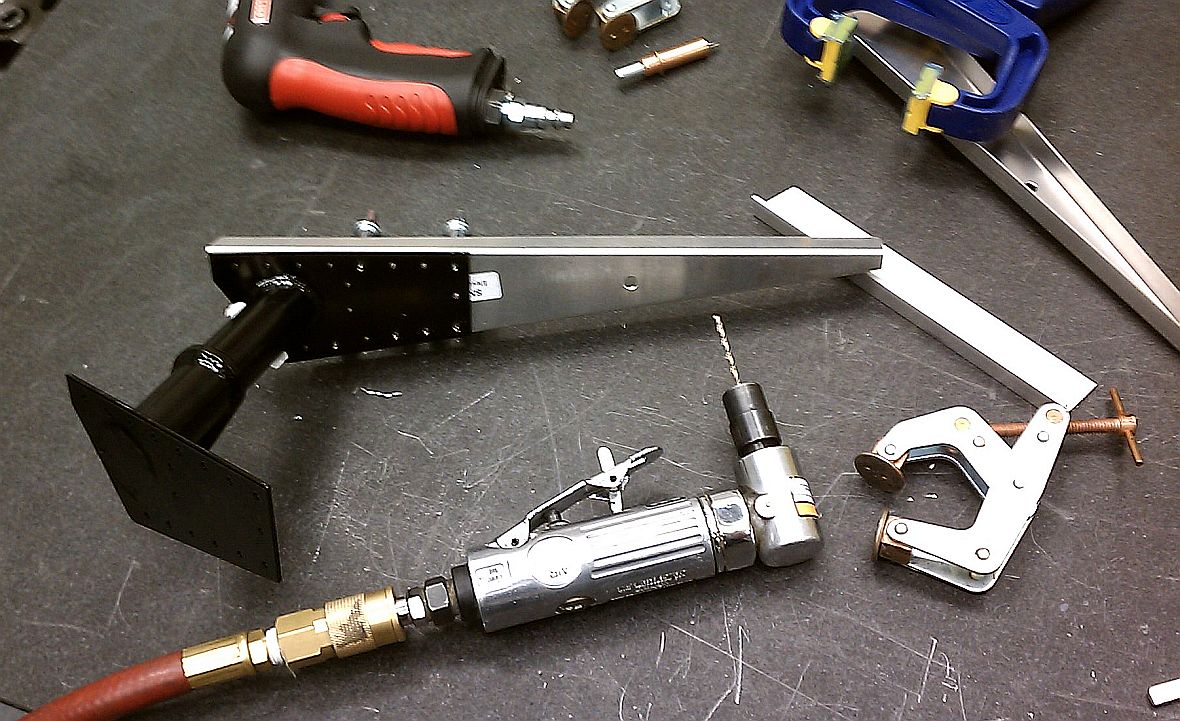
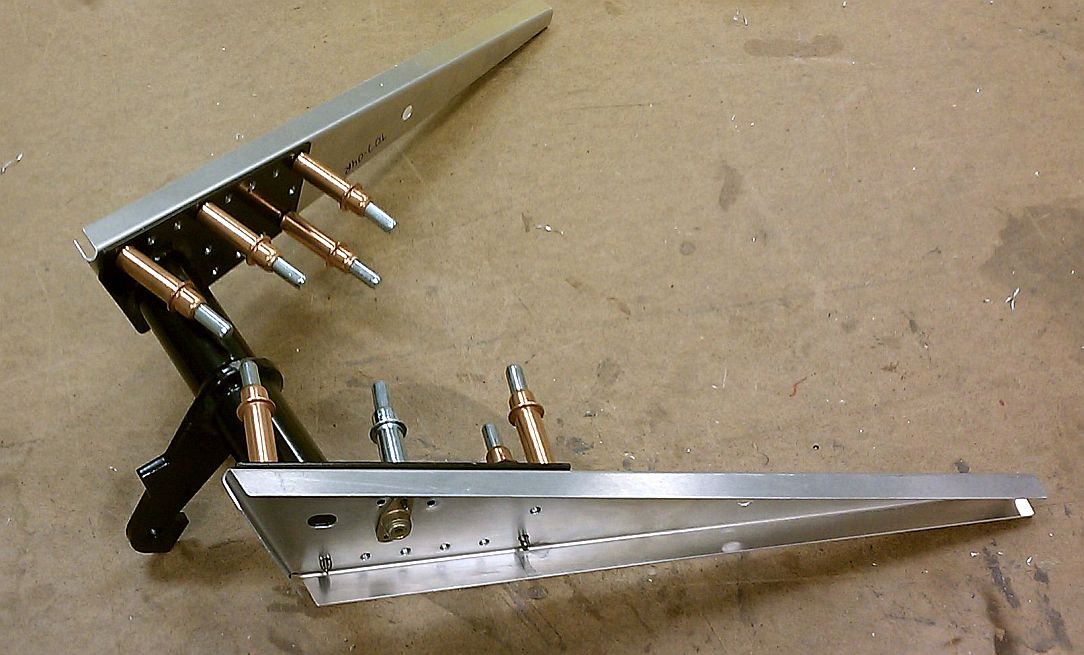
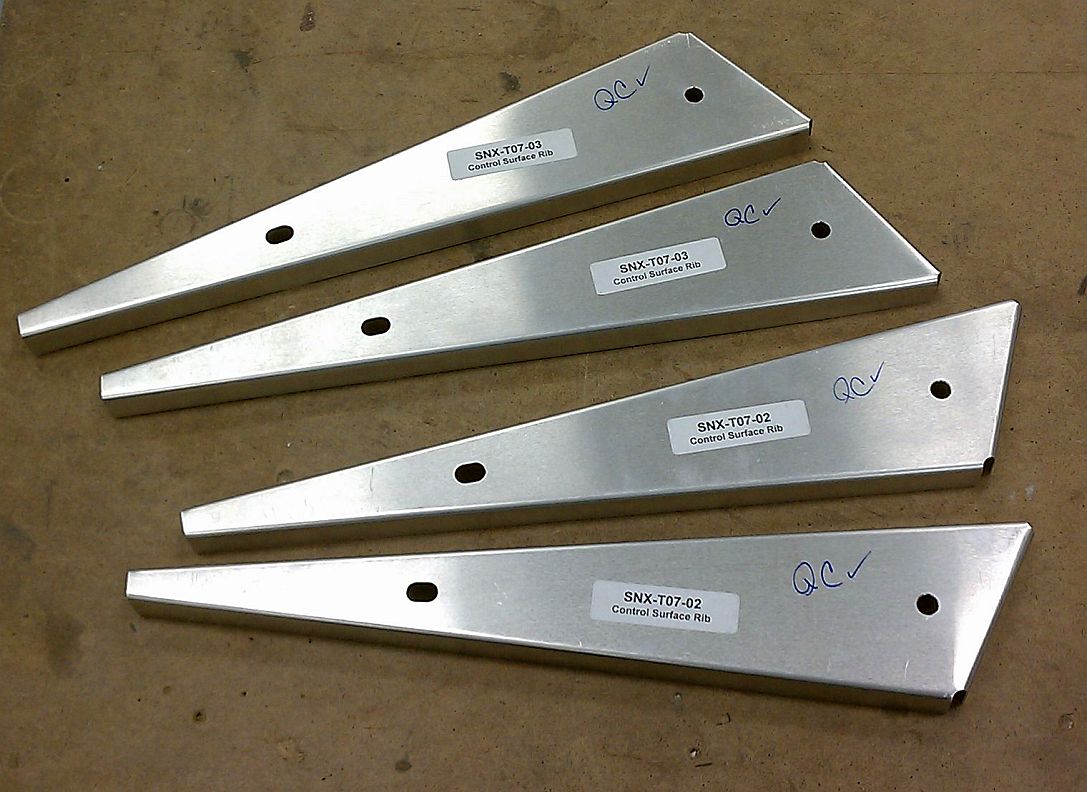
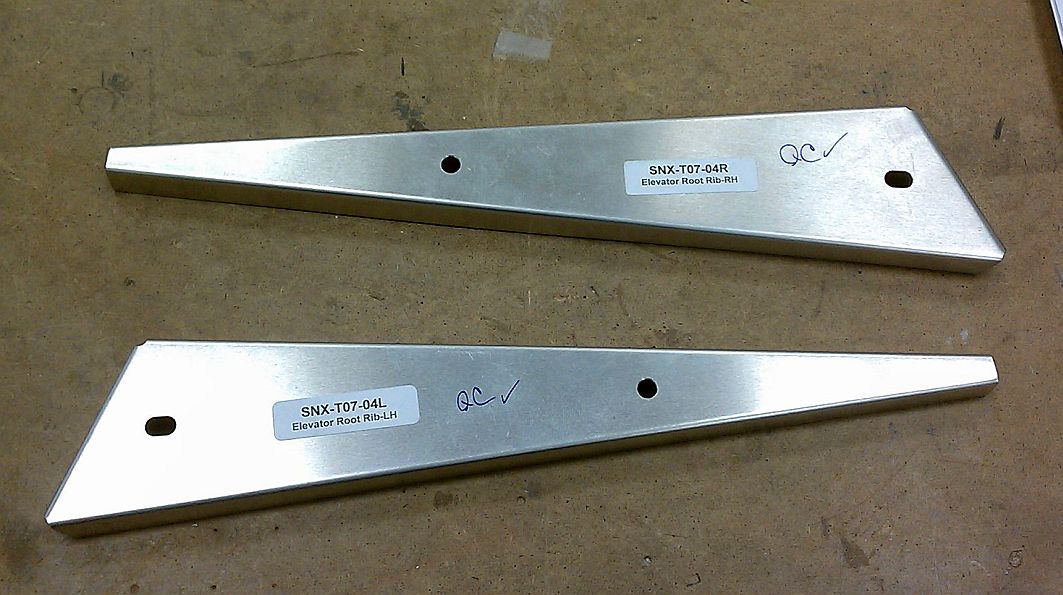
I started this evening by drilling the elevator hinge. I then moved to assembling and drilling the elevator root assembly (Drive Ribs). I aligned the root assembly on the granite flat table and used the kit supplied steel drive horn as a template for the drill. To help get into the tight spots, I used an air die grinder. I disassembled deburred, and then reassembled for updrilling. Once complete, I marked the tip & center ribs for the elevator skins. For fun, Tony gave me root rib ears :-).


3-Aug-12
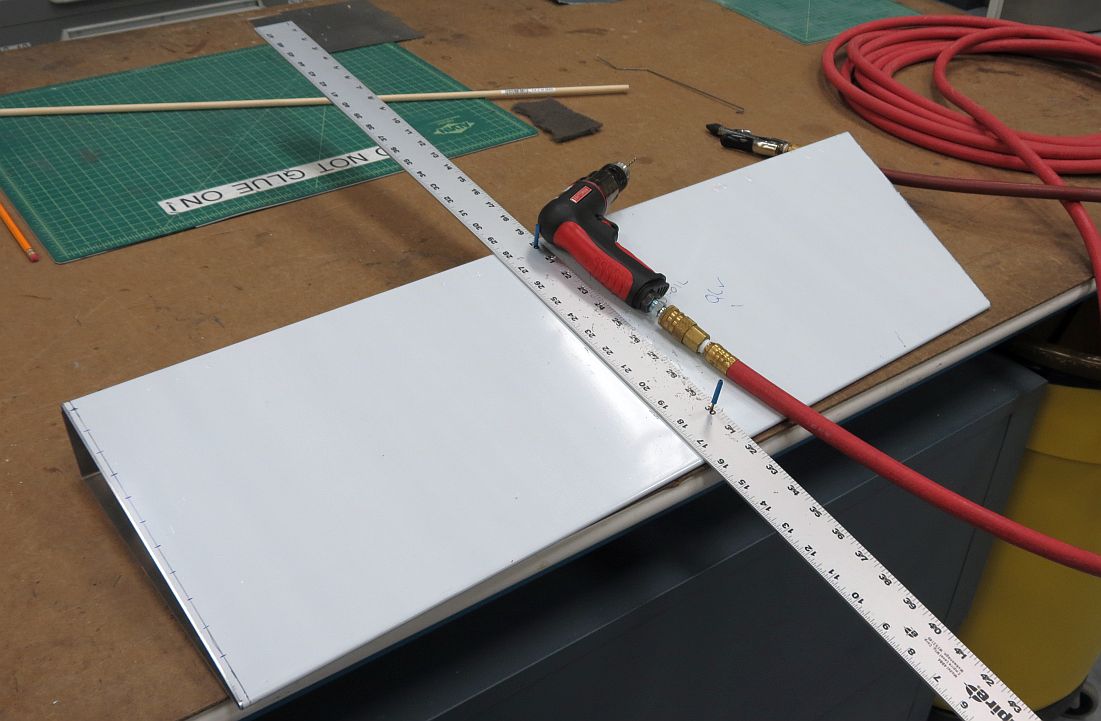
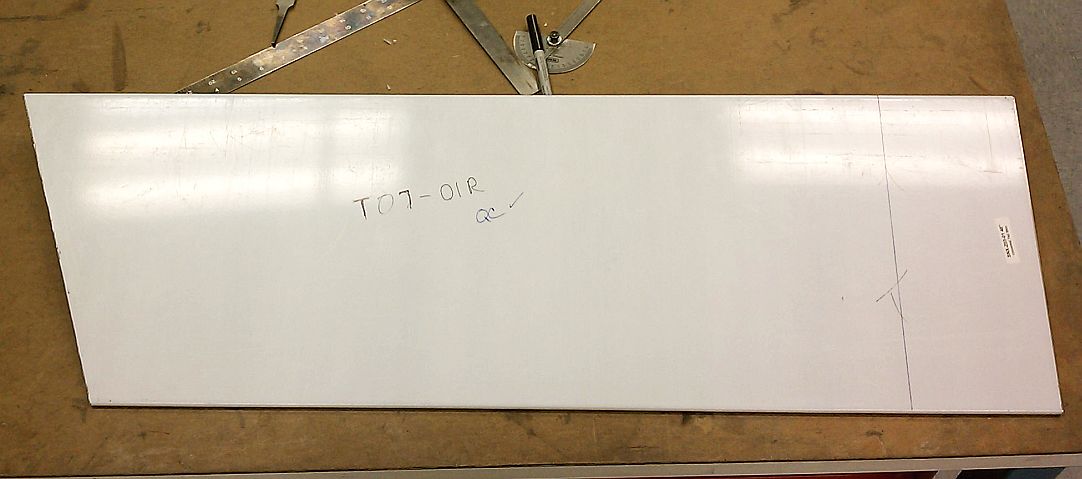
After working work-work late, I didn't get started on fun-work till after 9pm. I started by marking the elevator skins for trimming. I used the cutting wheel on the Dermel to rough out the skins. I then filed and sanded the edges to finish. I inspected the skins per the plans and called them good! I then deburred and inspected the elevator ribs. I finished by cutting the elevator hinges to length, but they still need to be drilled.

Back to SONEX Back to Ashton Aerospace