
On Guard! Ready your Flaps for Battle!
Total Hours: 33.4
Hours Fabricating: 26.7
Fab Hours to Date: 149.5
27-Jul-12
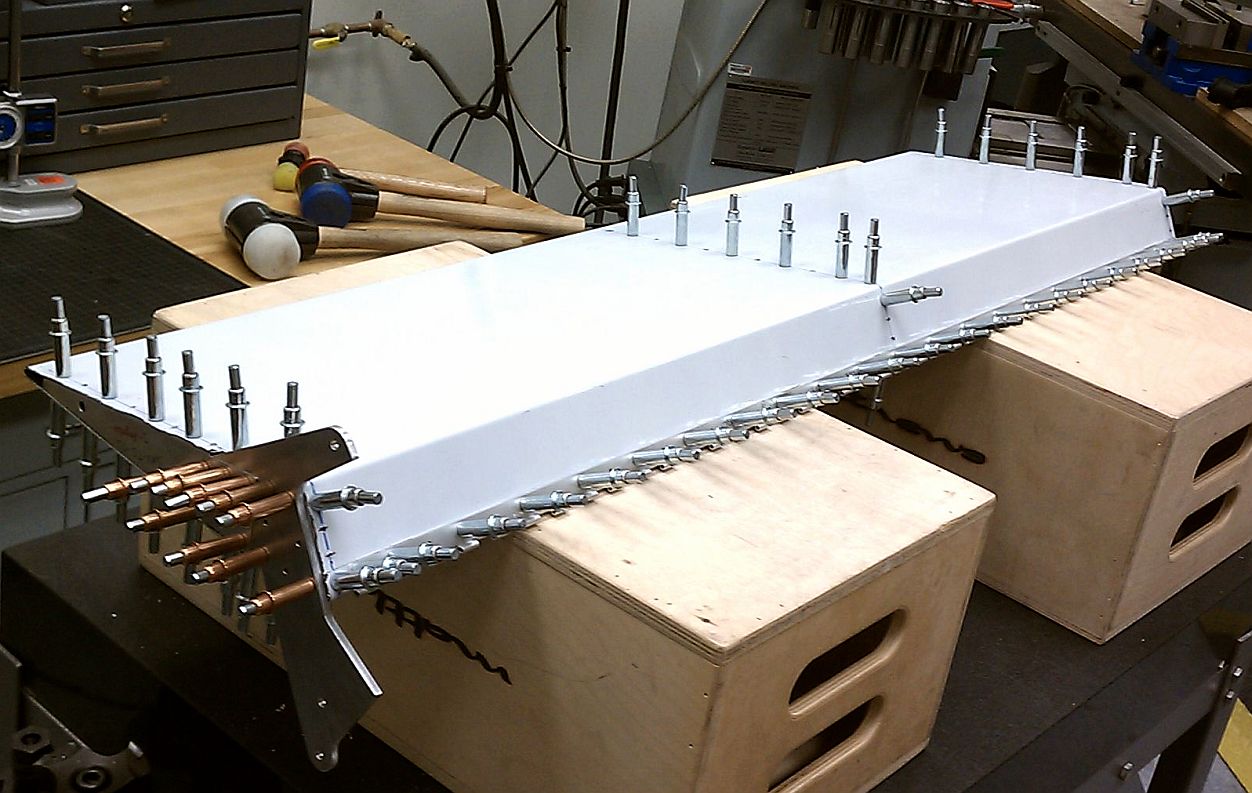
Before beginning the drilling process, I checked the plans to make sure all of my marks were in the appropriate locations. I blue lined all of the ribs and then aligned the first rib to start drilling. I drilled all of the "bottom" rivet holes, then the hinge line, then the "top" of the skin.


30-Jul-12
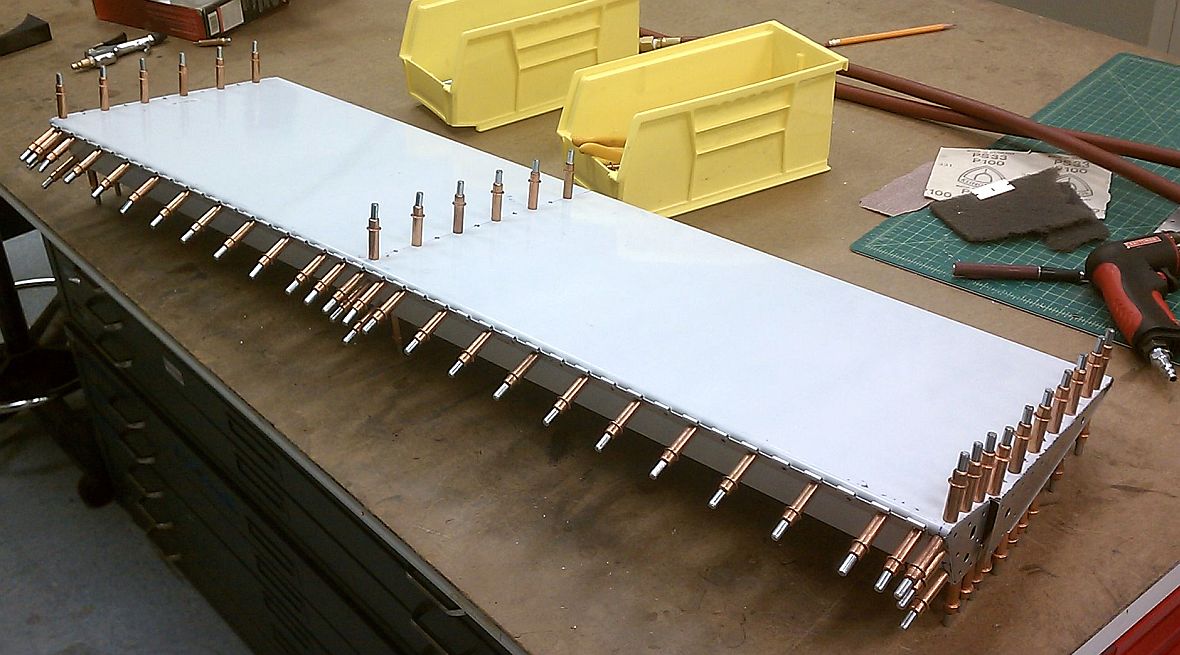
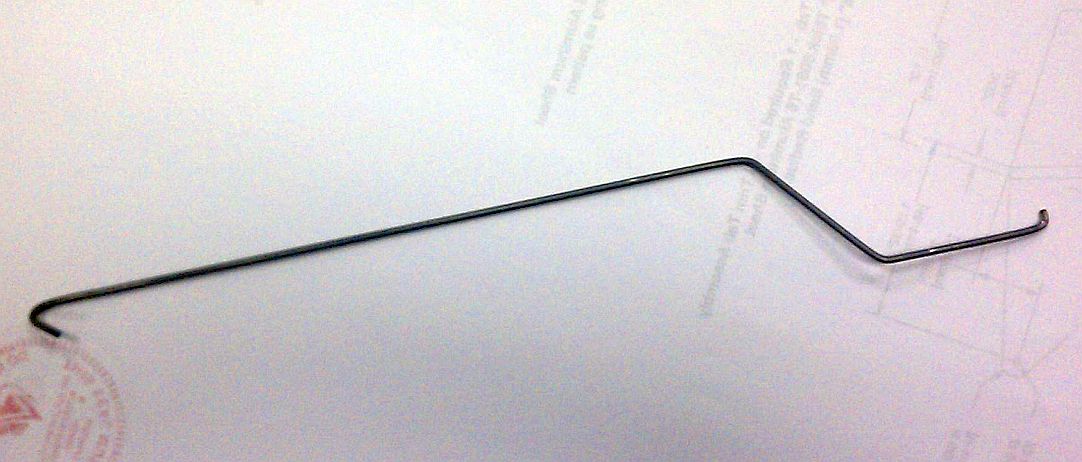
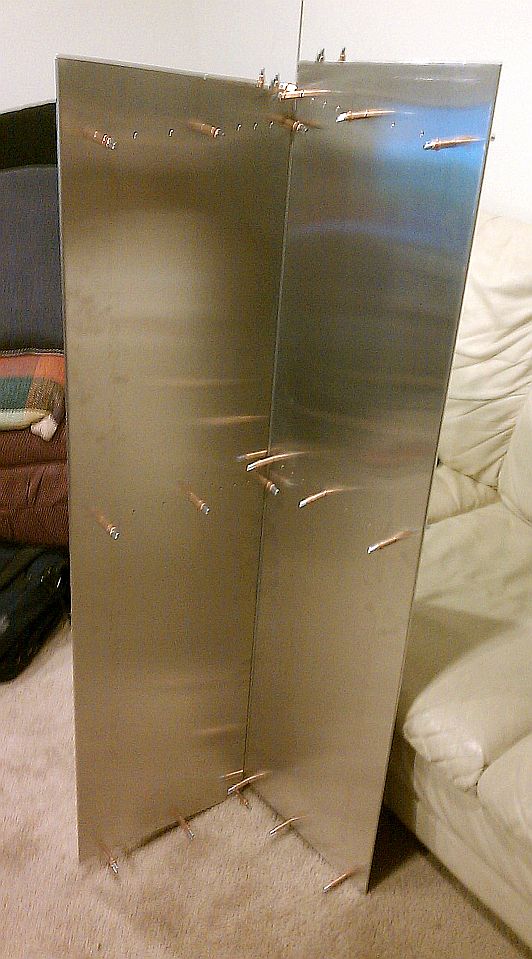
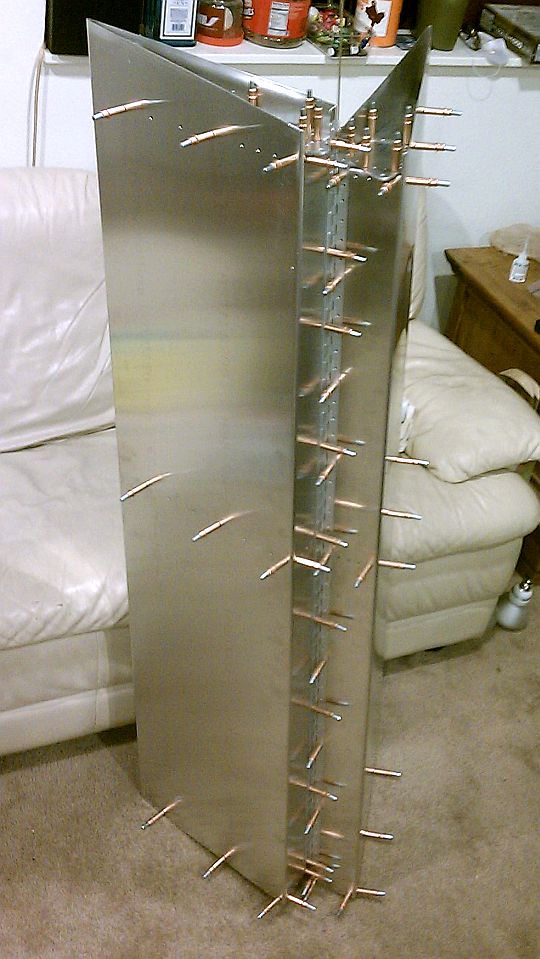
The rudder was disassembled for a rough deburr. It was then reassembled and #30 updrilling commenced. I drilled all rivet holes to the final 1/8" size. I disassembled the rudder again for deburring. Tony (TMFT) helped me make a deburr tool from music wire so that I could deburr the hole inside of the skin that were not possible to reach from the inside. At the end of the evening, the Rudder was reassembled and is now COMPLETE!!!!!..... except for final inspection and rivets.

11-Jul-12
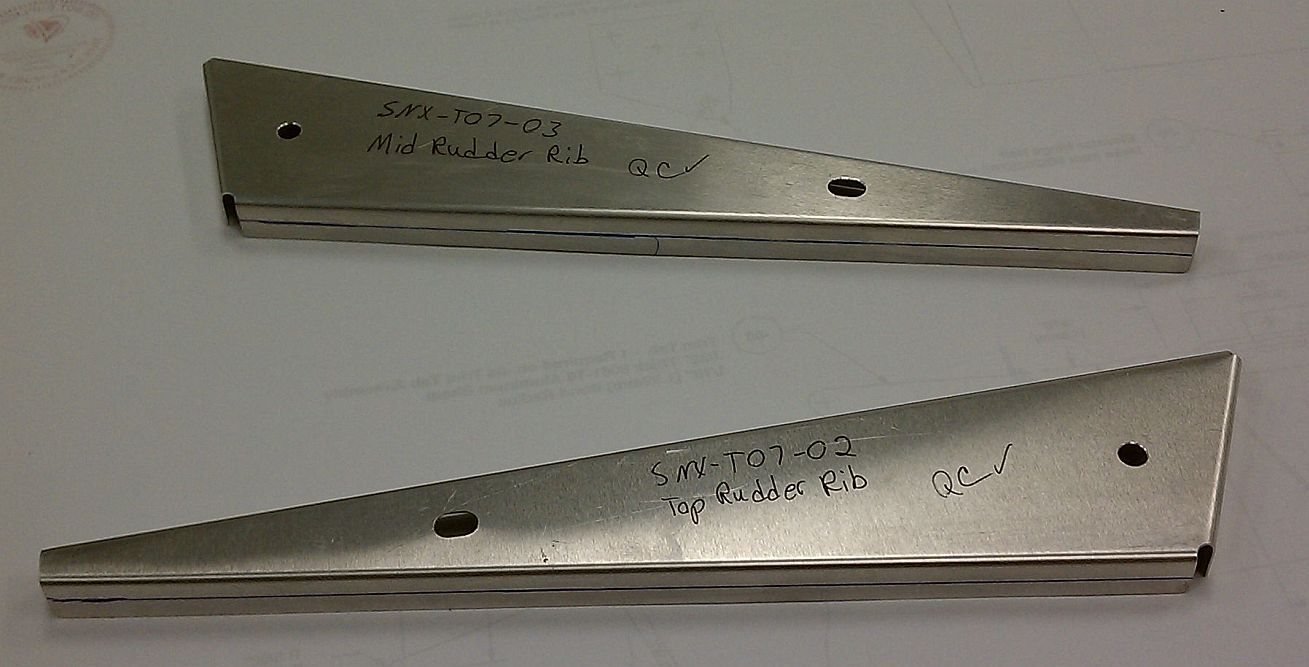
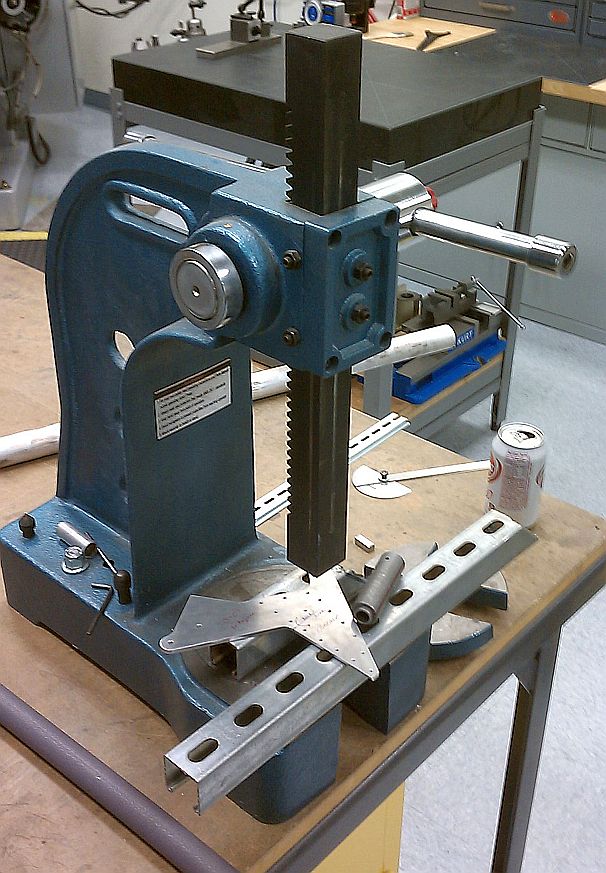
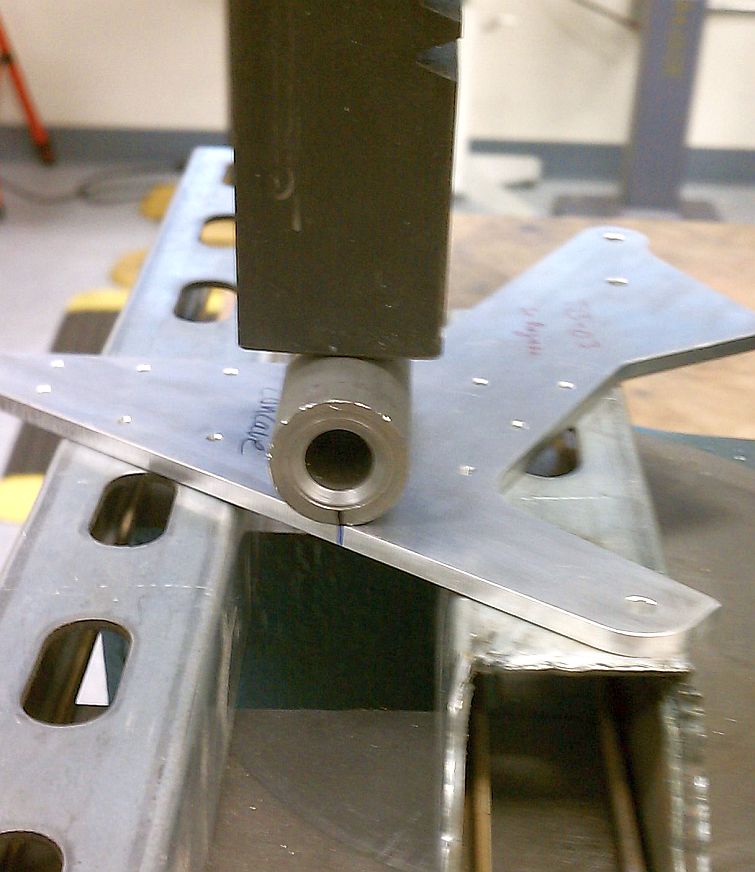
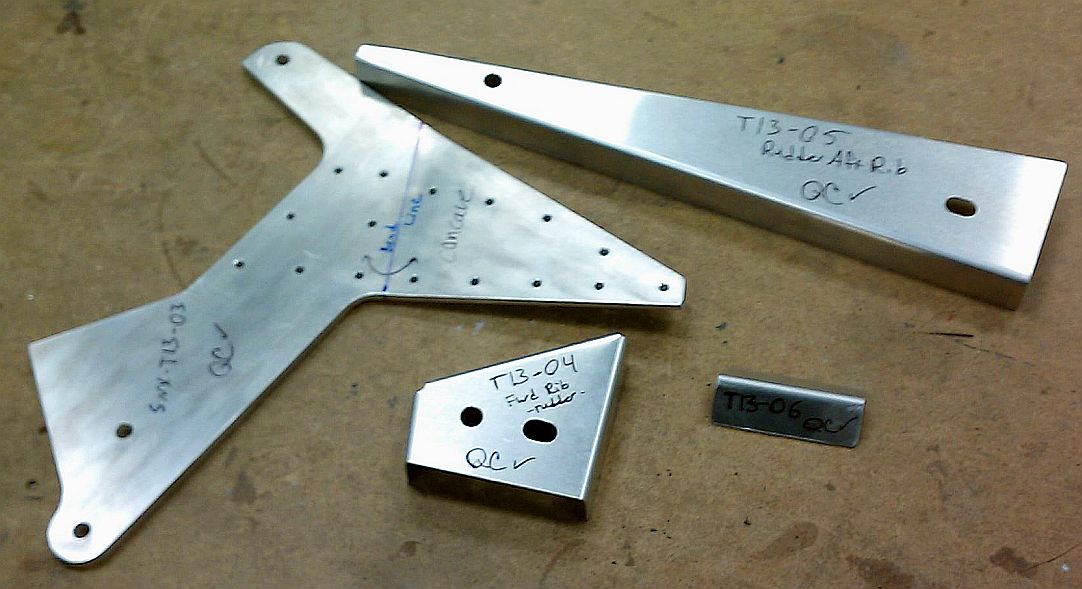
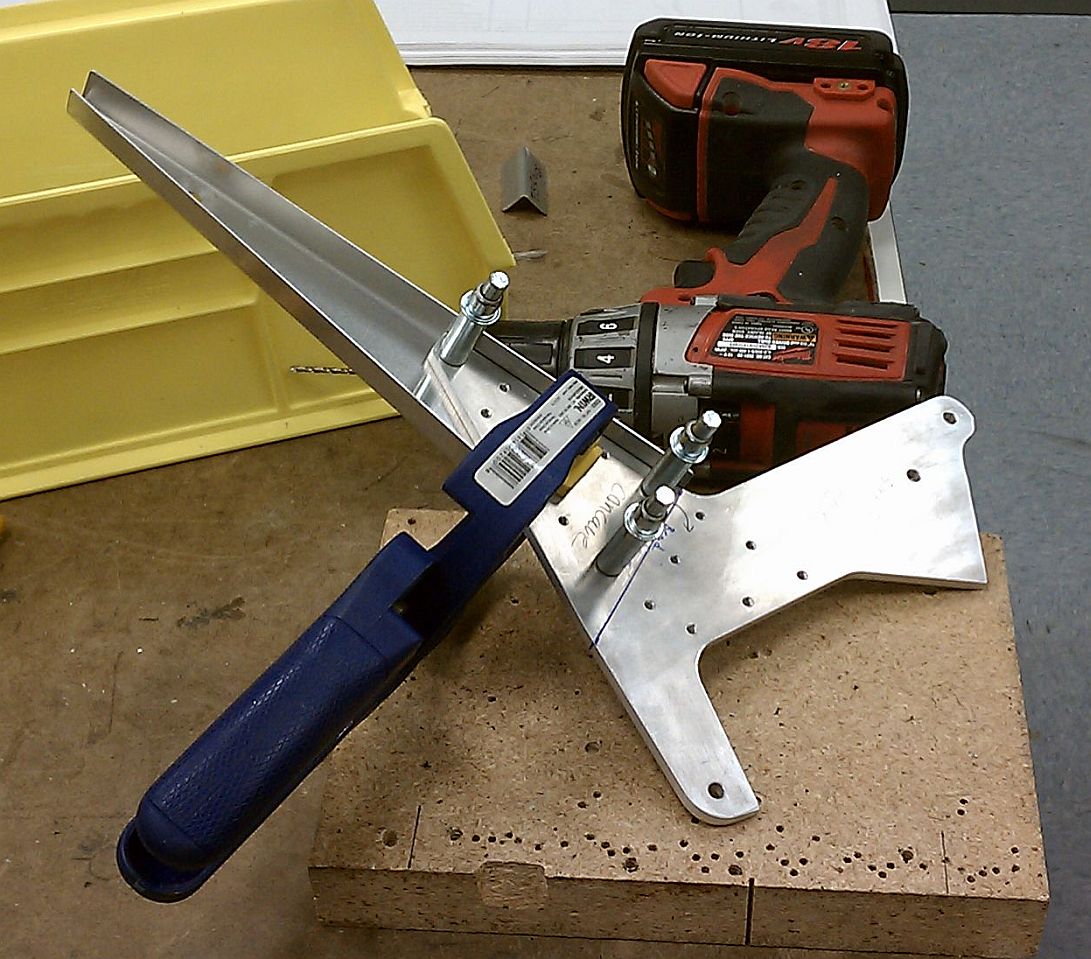
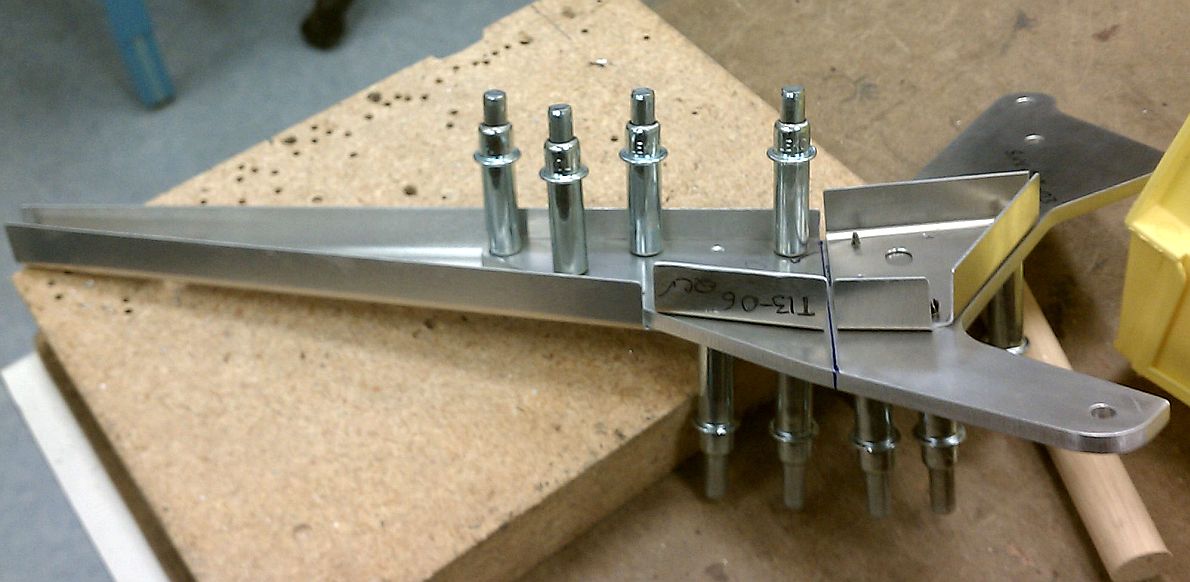
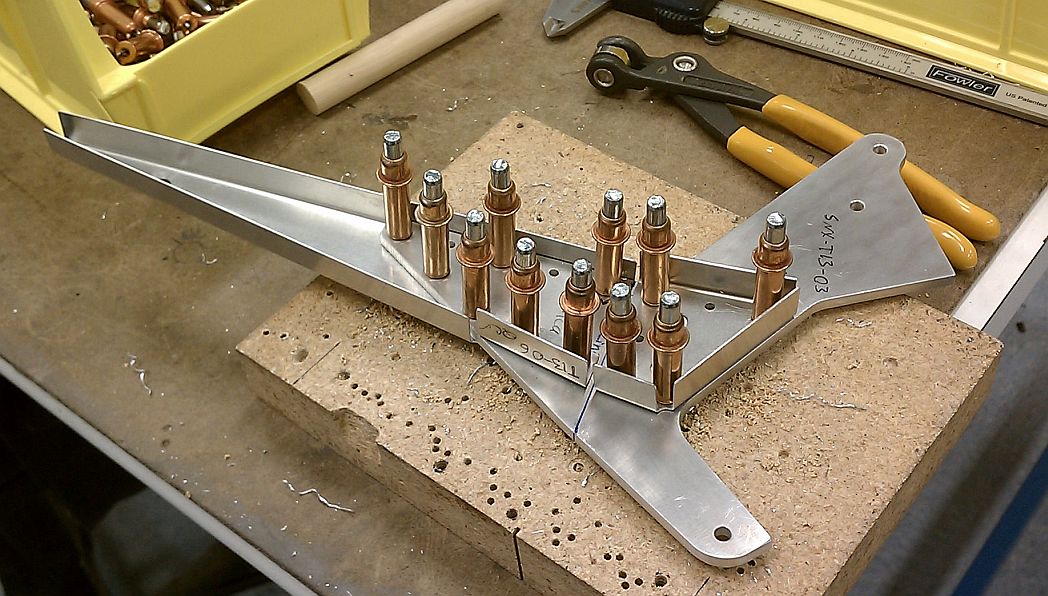
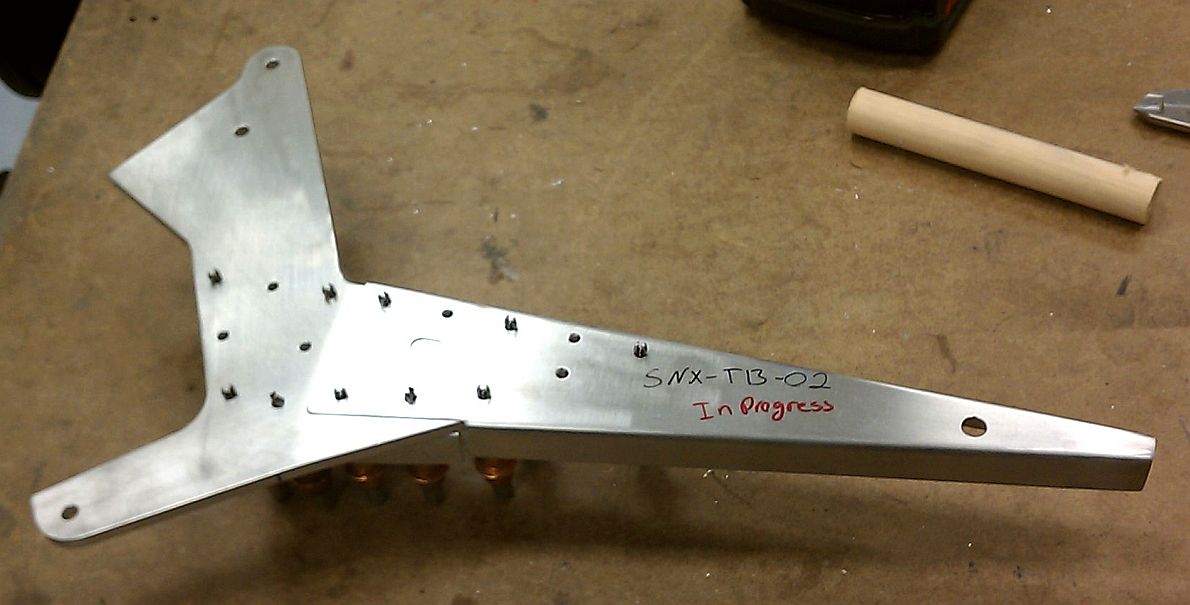
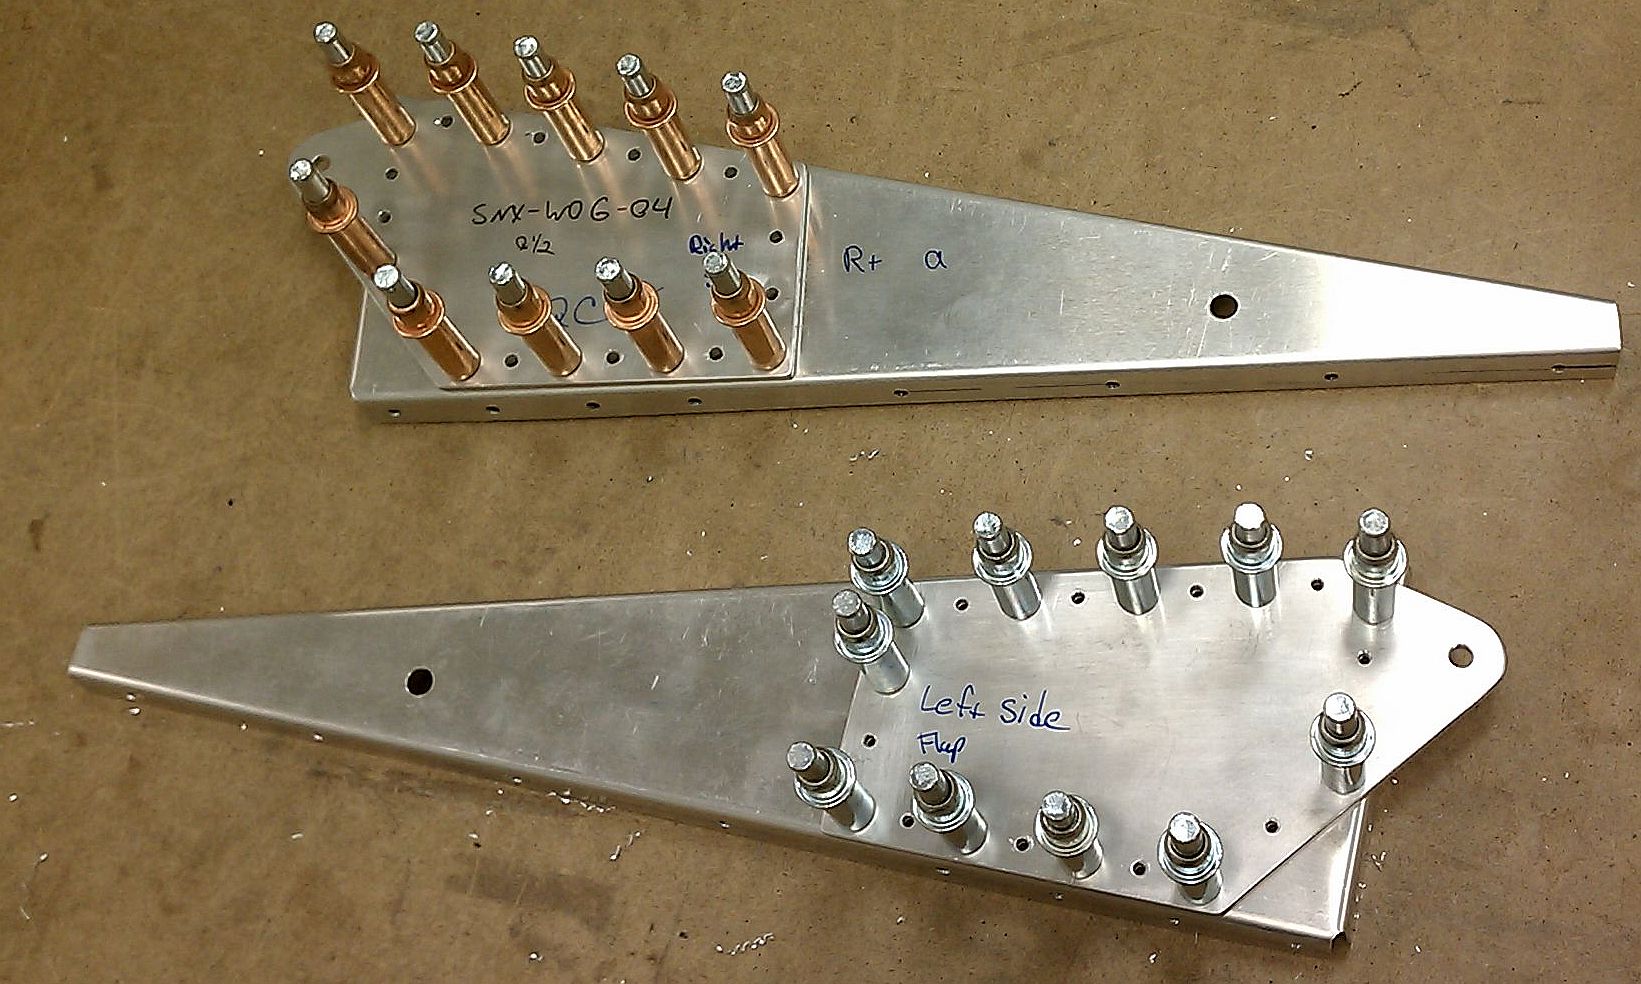
I continued to work on the rudder. I used a steel rod and the arbor press to bend the rudder drive plate the required. 5.2o. I then fabricated T13-06 Angle that was not included in the kit. Once I finished all fab and inspection of the components, I started aligning and drilling the rudder drive rib assembly.
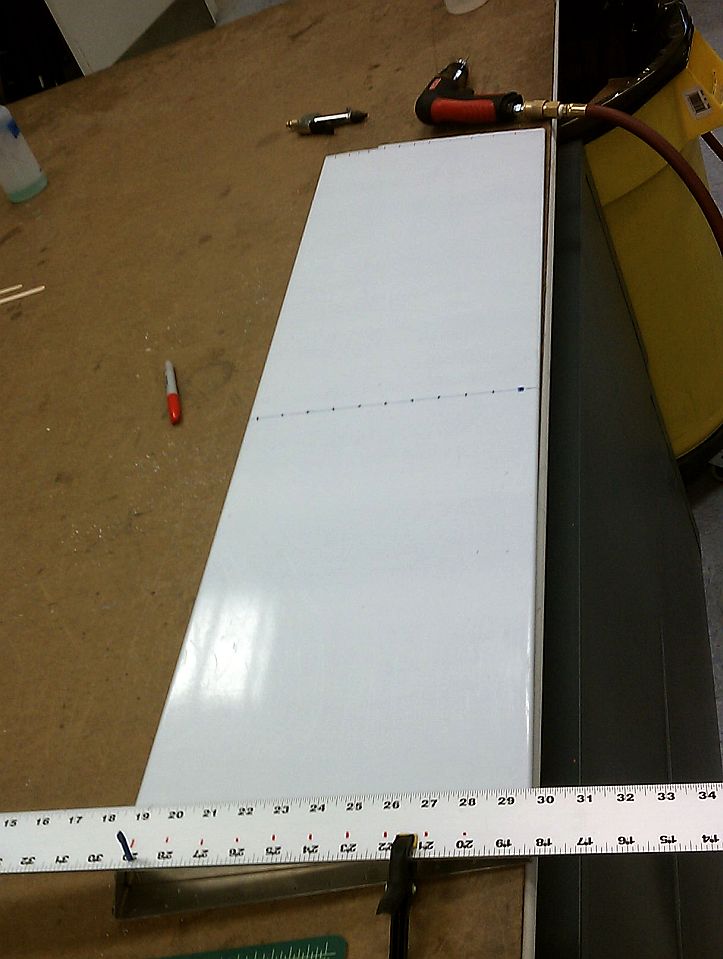
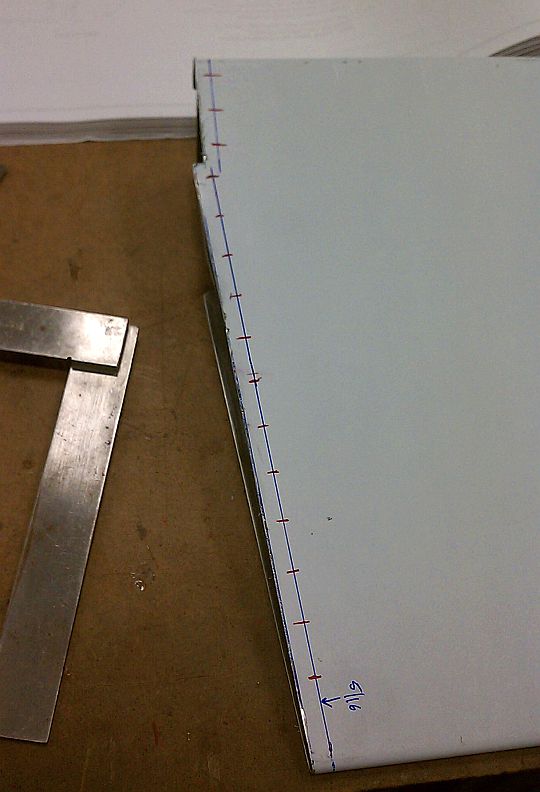
This was a very slow and short night. I marked the rib lines and rivet locations for the ribs on the rudder skin.
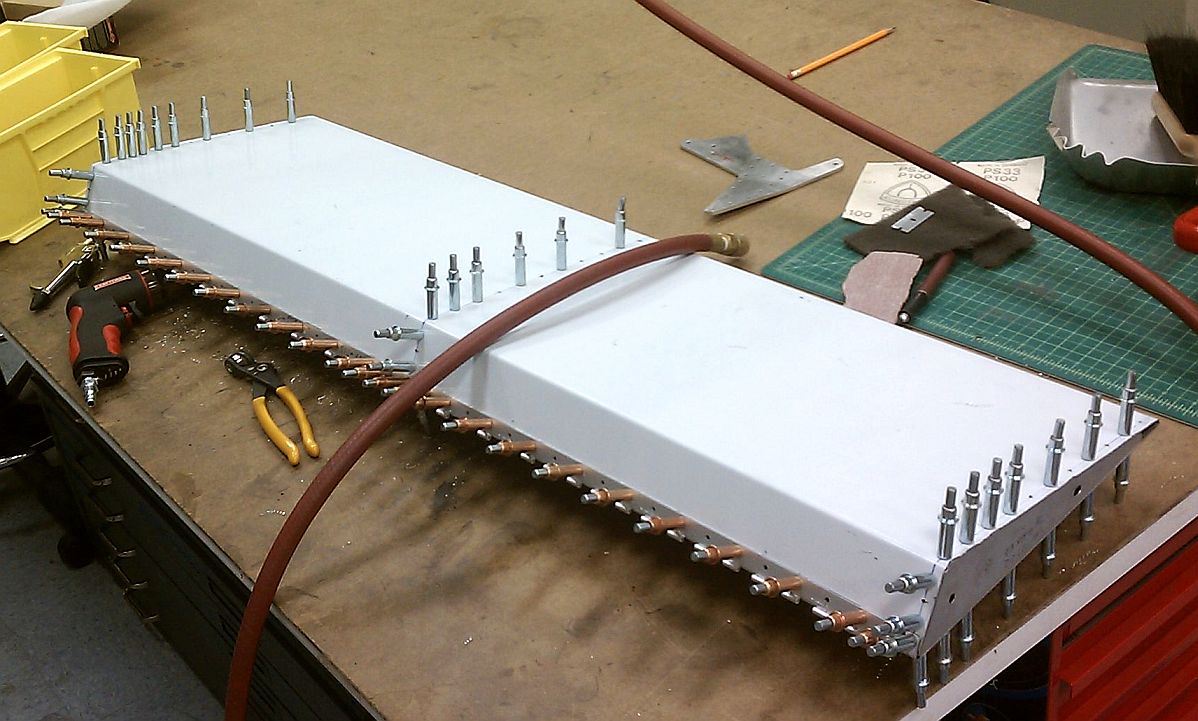
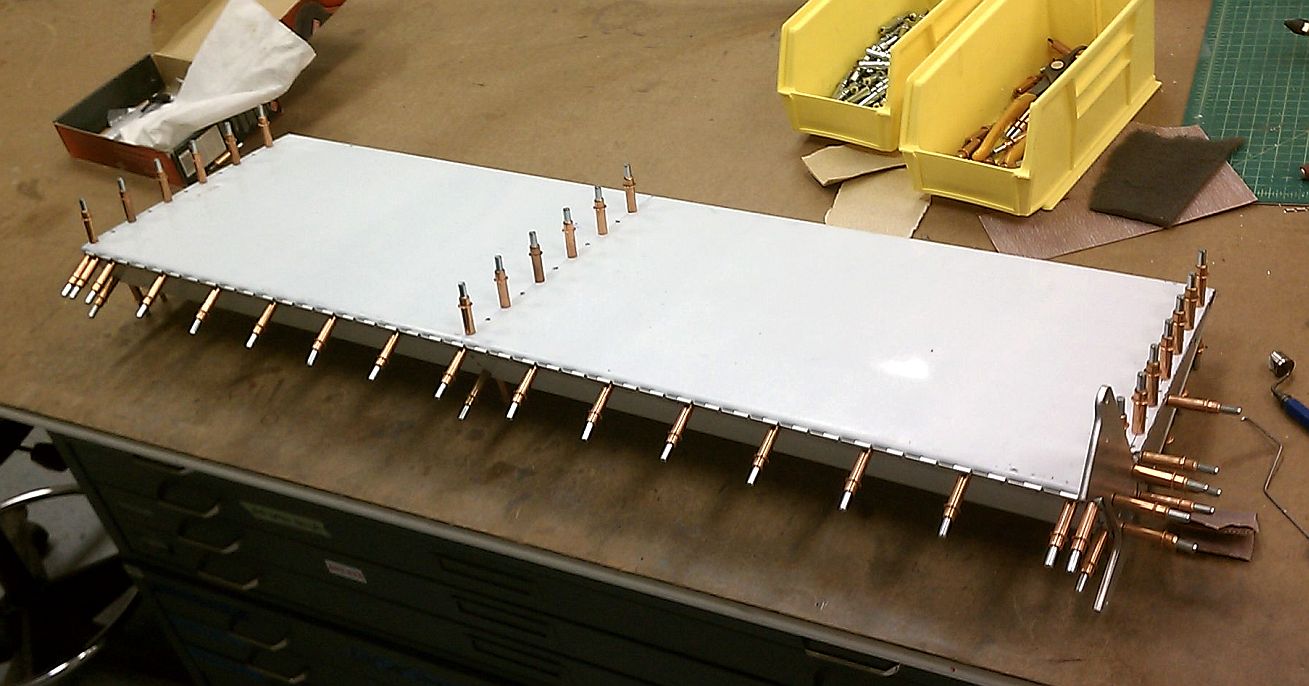
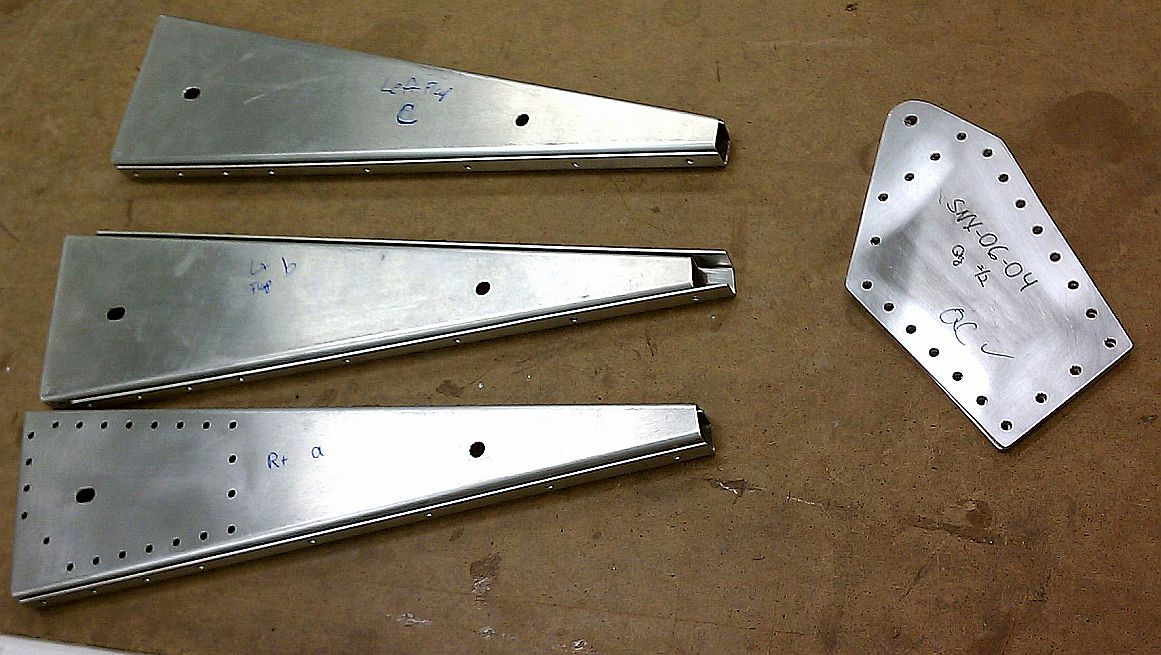
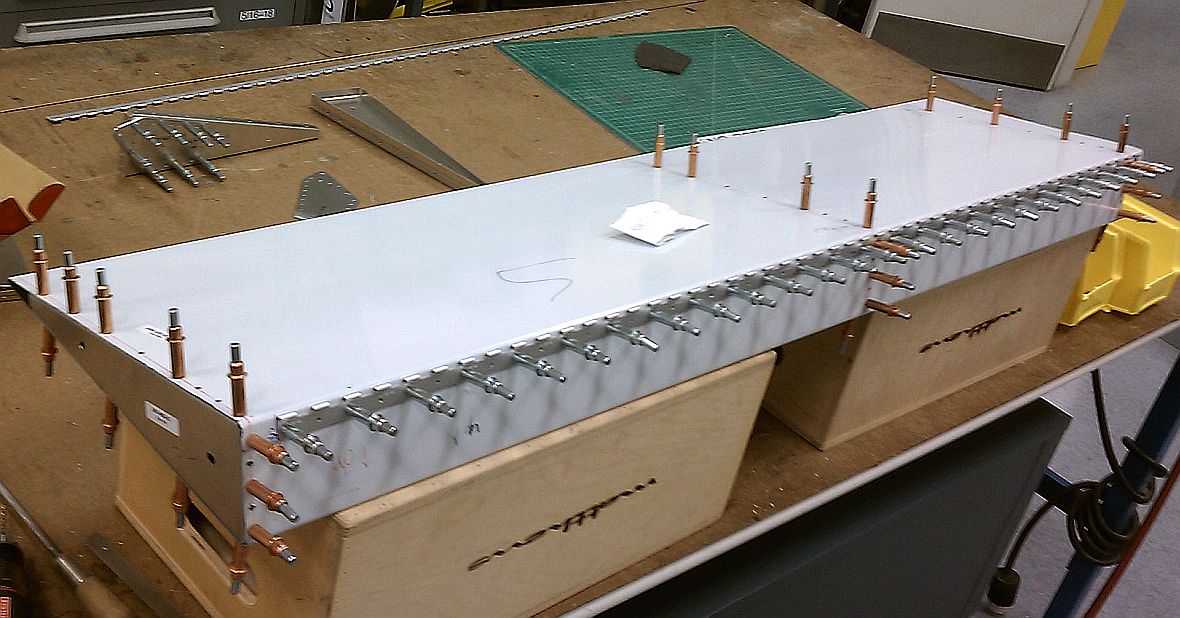
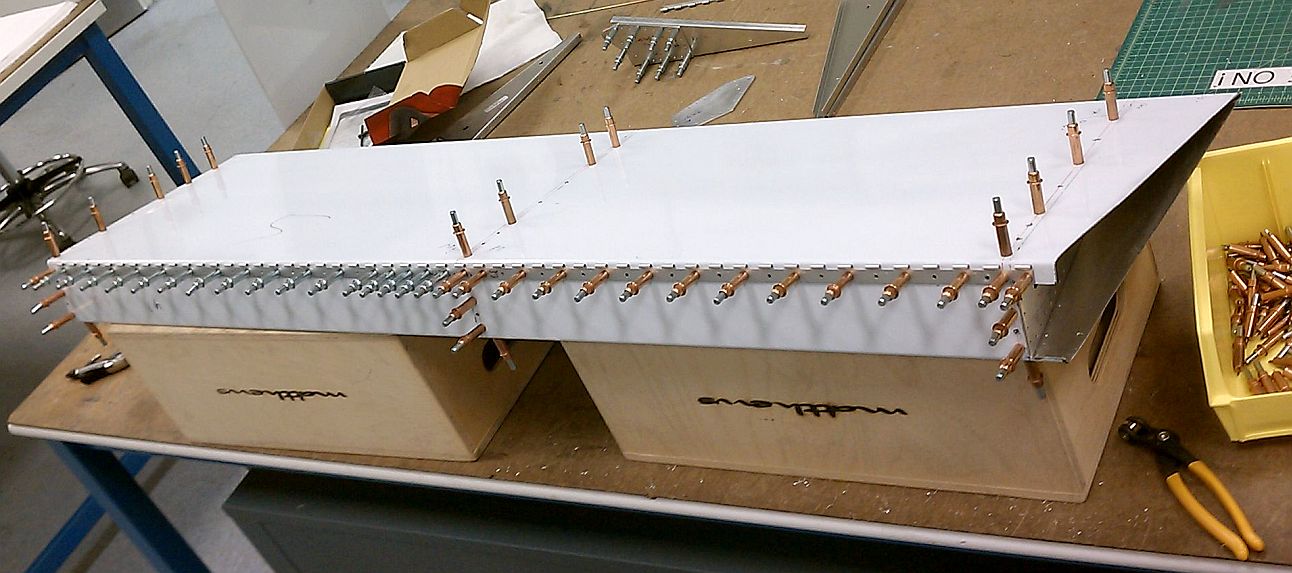
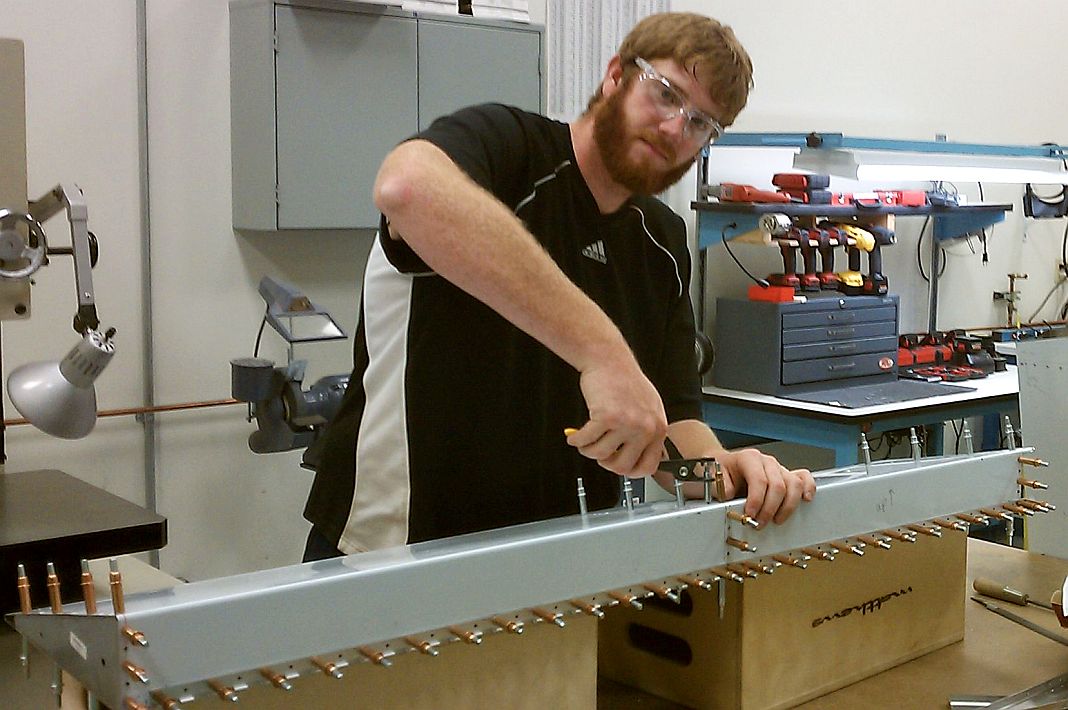
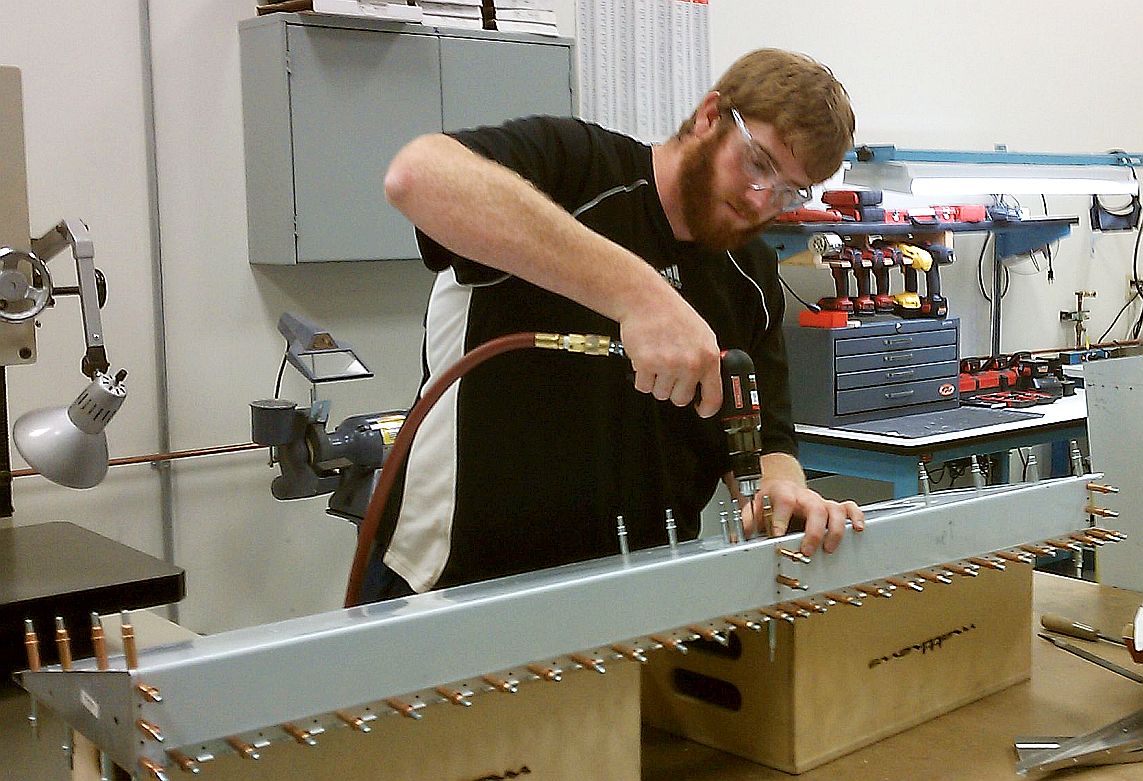
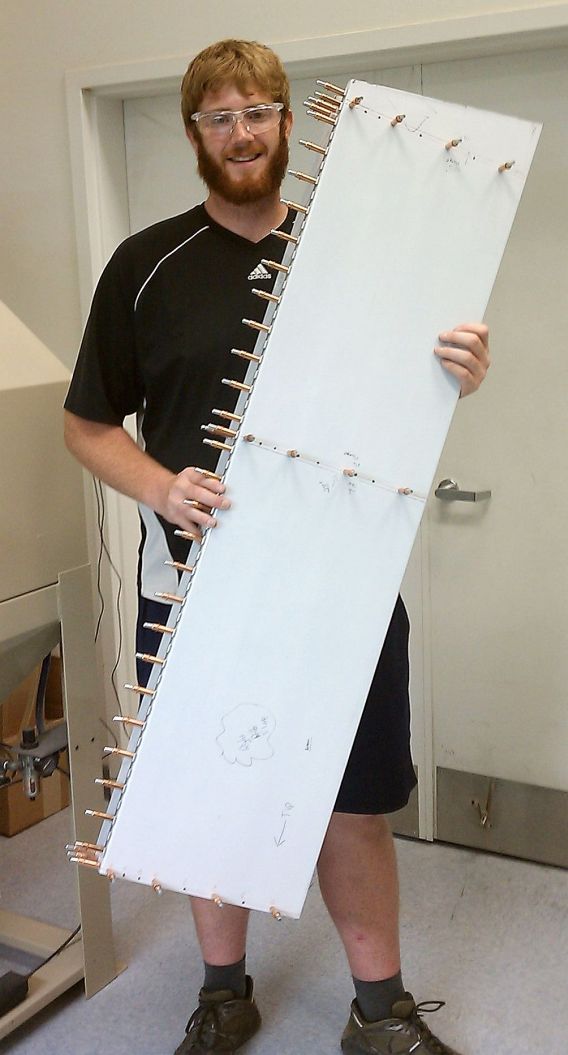
I continued deburring all of the remaining flap parts. When complete, I carted them all back home and re-assembled them with copper clecos. The flaps are now COMPLETE..... well, except for riveting anyways :-)
9-Jul-12
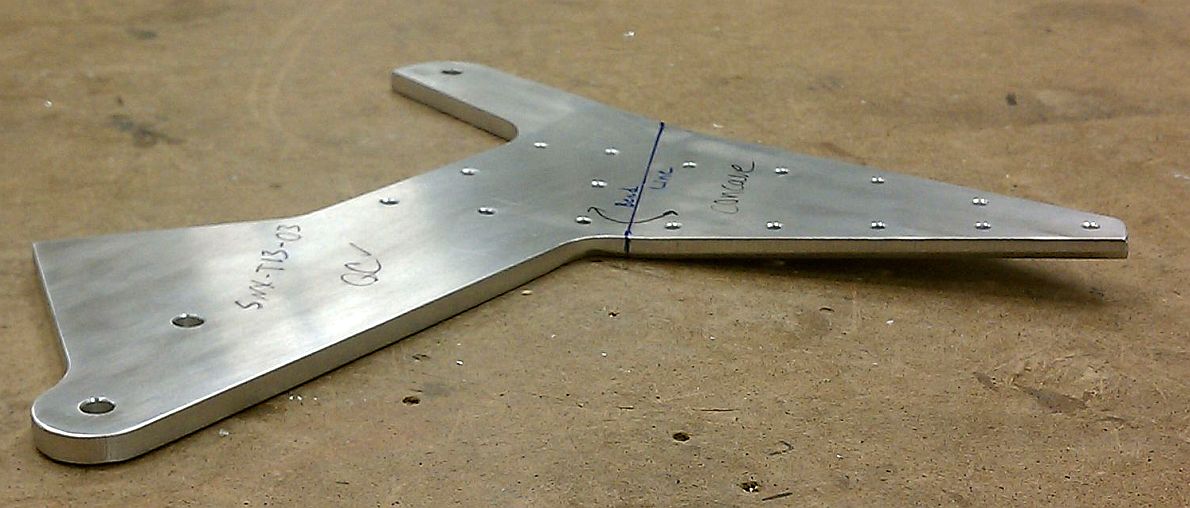
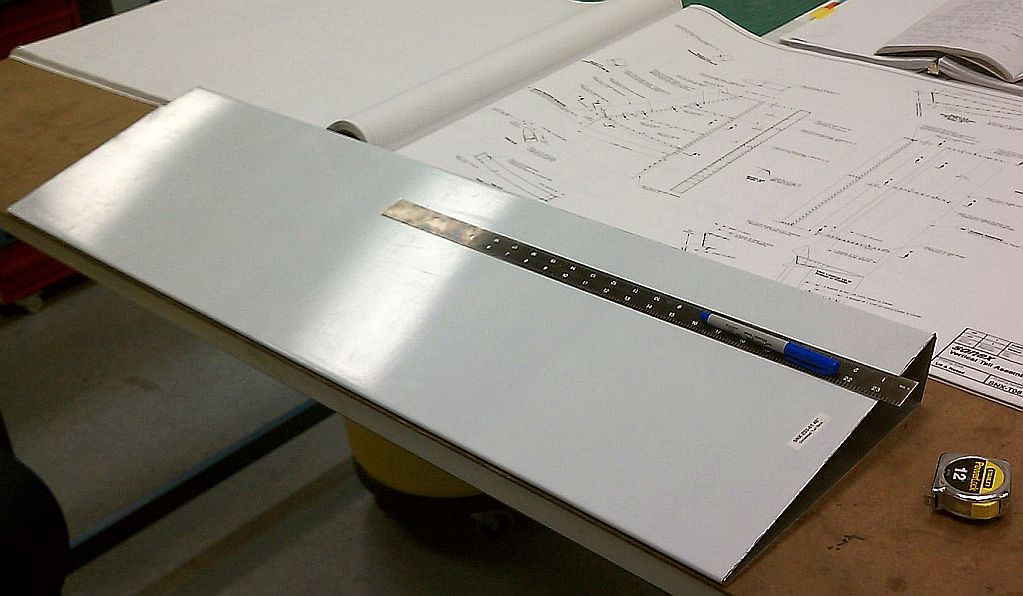
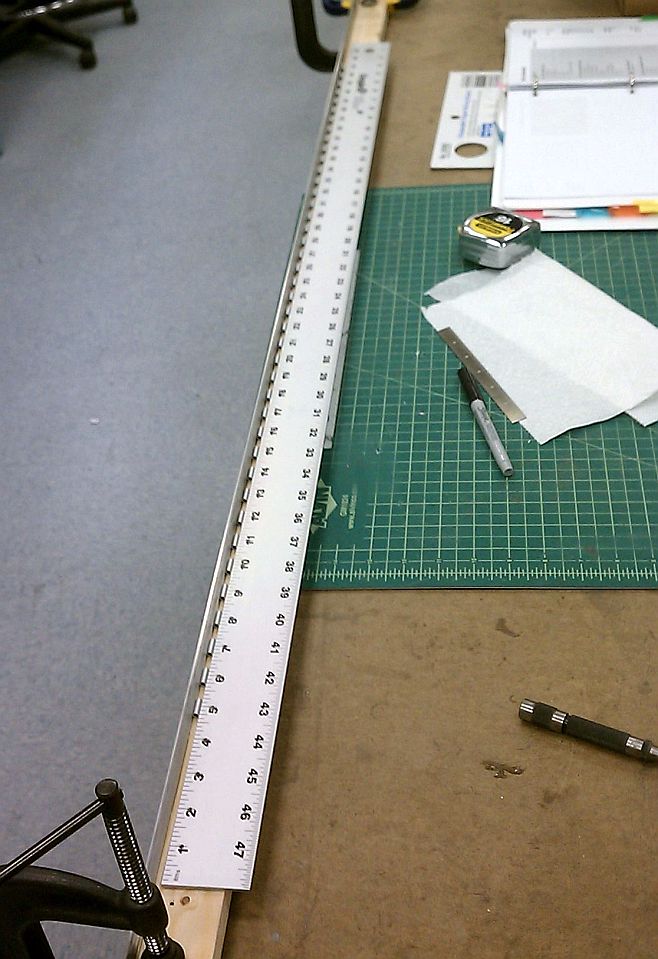
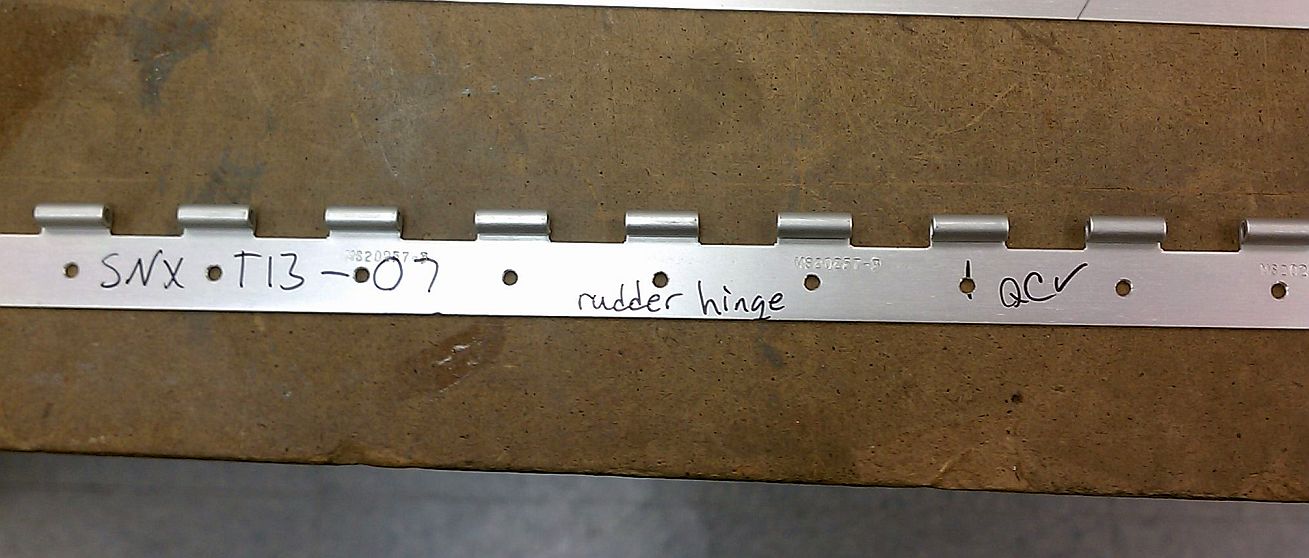
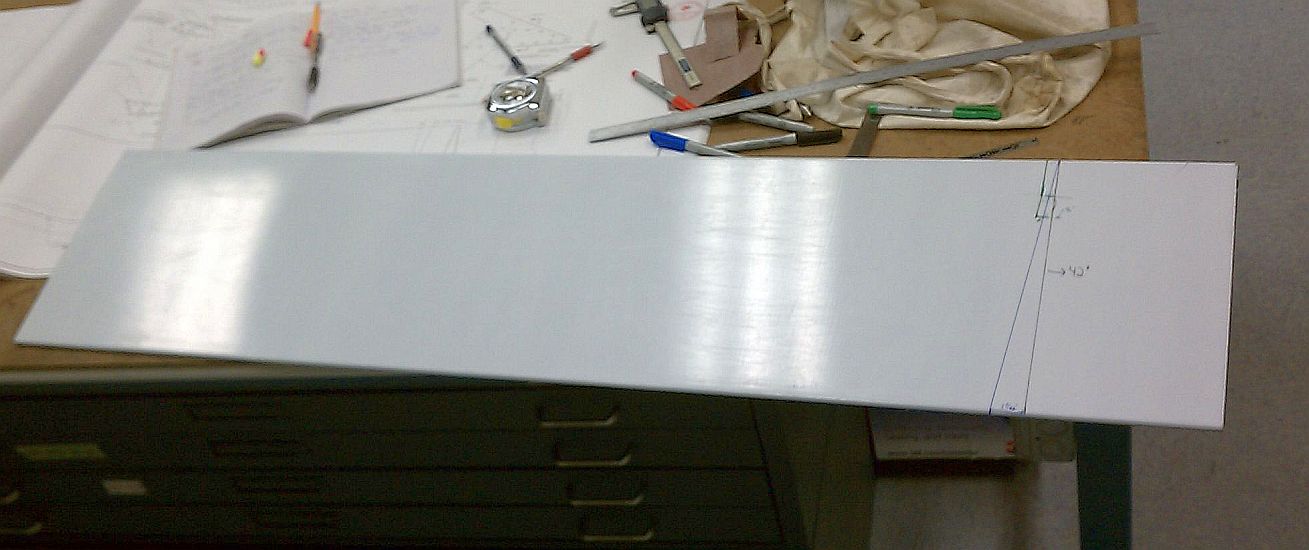
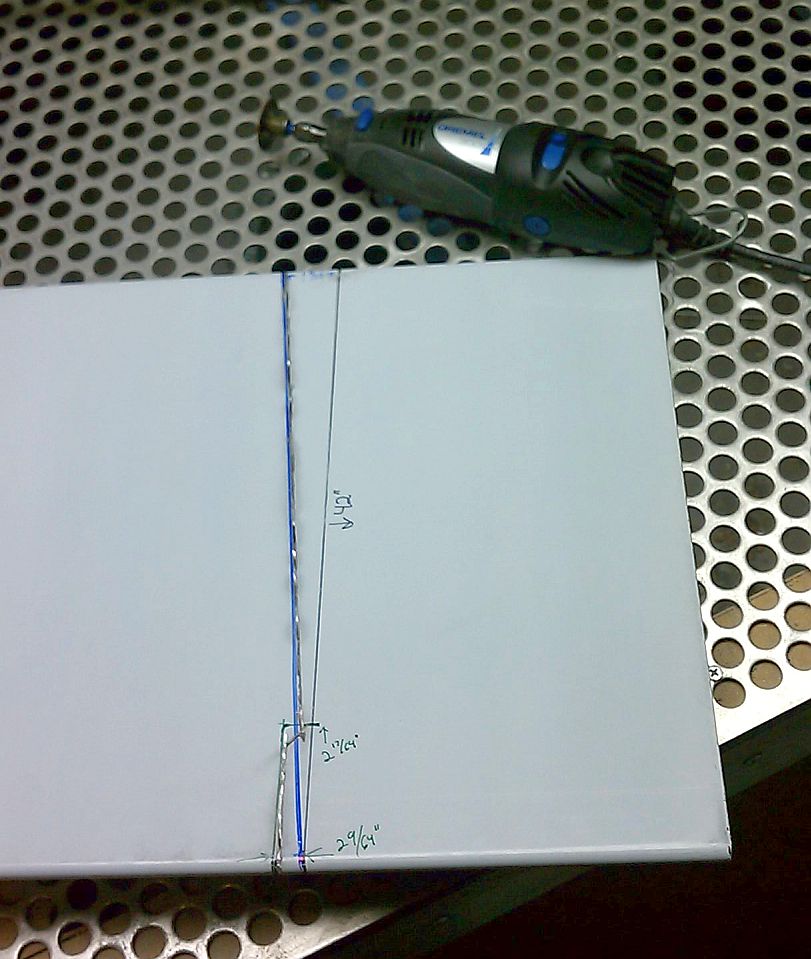
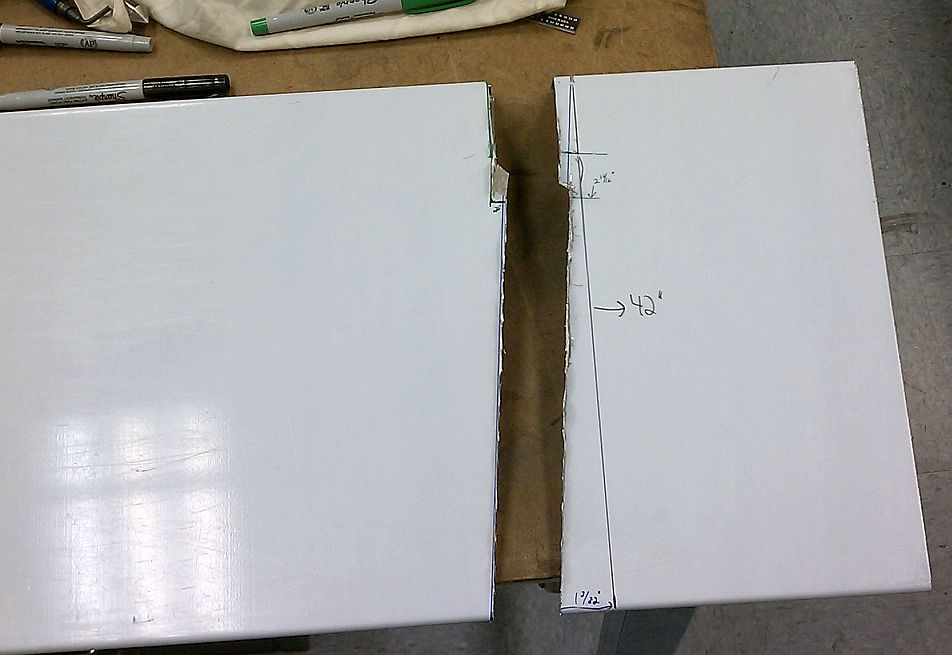
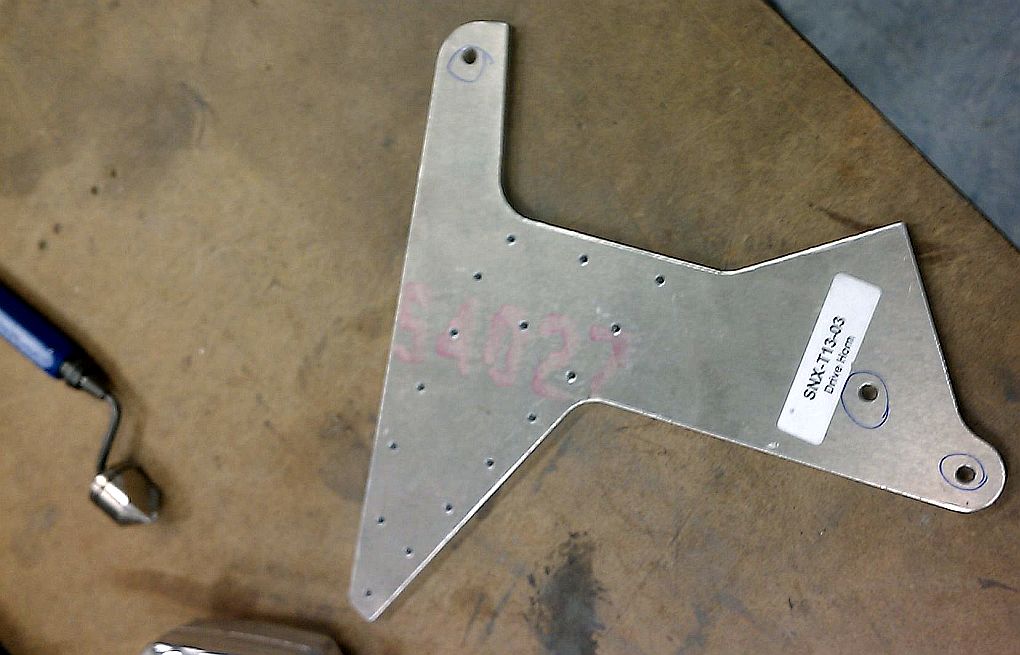
New Project: The Rudder!!!! I started by gathering the major parts from the kit (ribs, skin, etc). My first fab task was to cutt and drill the hinge. I then marked and trimmed the skin. I found that using the cutting wheel on the Dremel tool works much better than the sheers. I rough it out with the Dremel and then finish it with the file and sandpaper. Lastly for the night, I cleaned and inspected the rudder drive plate.
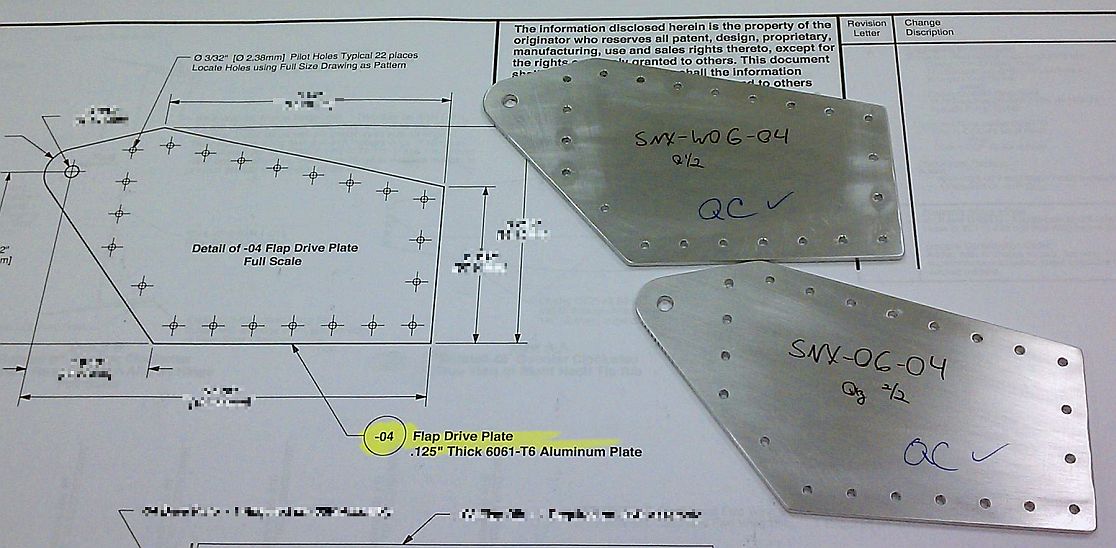
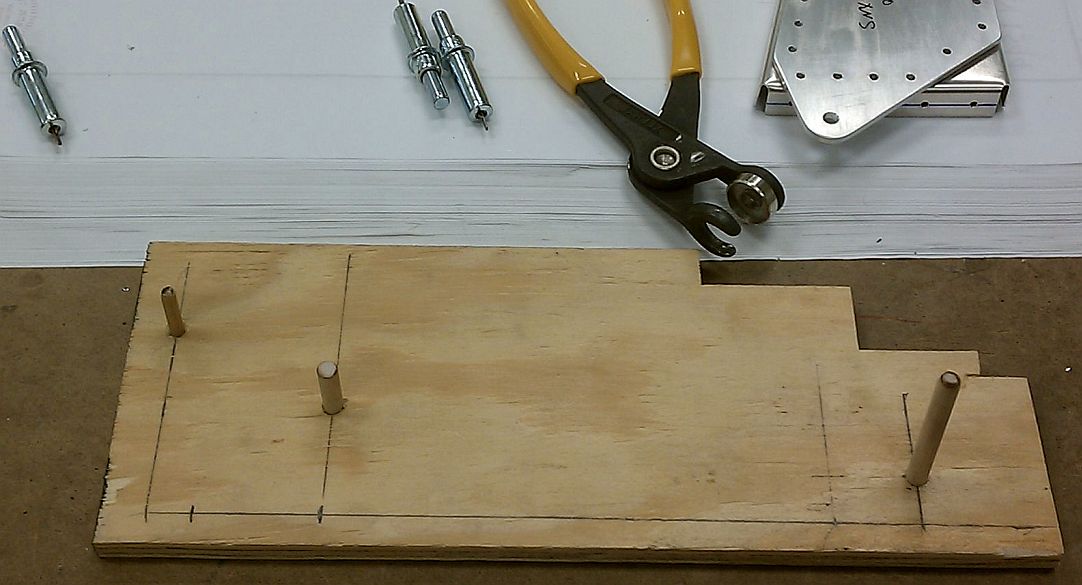
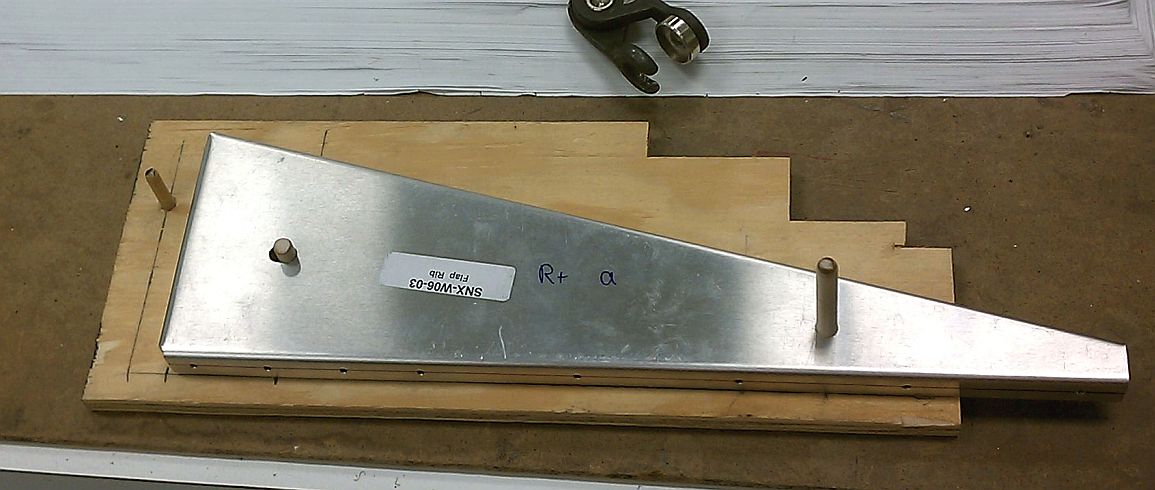
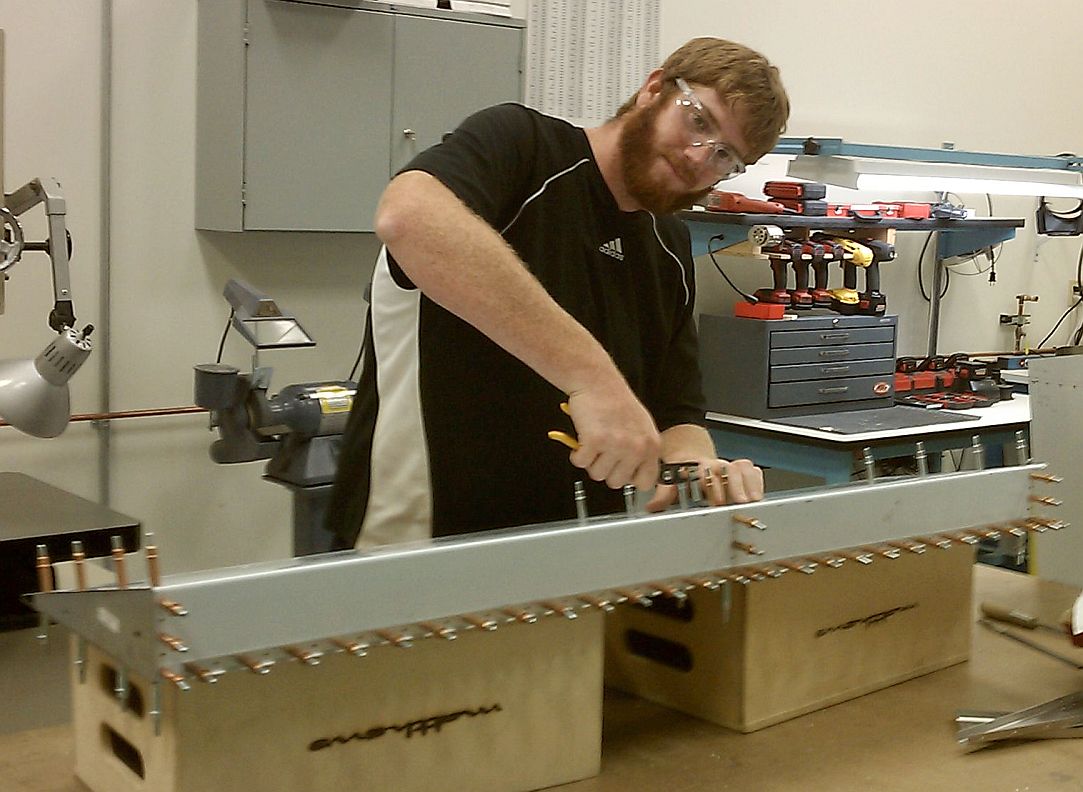
Happy 4th of July!! So, before we BBQ, lets build an airplane! I disassembled the flaps for a basic deburr before updrilling. I began work on the Flap Drive rib assemblies. First I deburred and inspected the drive plates from the kit. I made (not very well I might add) a wood block jig to help align the drive plate to the drive rib. This worked well for one rib, but the pins were not straight, so when I flipped it over to do the other rib, I drilled the holes too far forward... TOTAL FAIL!!! No worries though, there was a spare rib in the kit and I used the first rib as a template for the second... The day is Saved! Now off for some BBQ!!!


6-Jul-12
I redrilled the rivet-skin holes in the new rib (replacing the one I screwed up). I clecoed the flaps back together and started updrilling all of the rivet holes with a #30 drill bit. Once complete, all parts were disassembled for deburring. I called it a night after only completing the hinge.
Back to SONEX Back to Ashton Aerospace