My First Riveted Assembly!!!!!
(5-Mar-12)
As the month of March is not yet over, this page is "Under Construction." A summary will be completed (hopefully) soon after the end of the month.
Total Hours: 44.5
Hours Fabricating: 35.6
Fab Hours to Date: 107.1
I finished drilling the last of the top rib holes in the left aileron.
I continued drilling pilot holes in the Ribs of the right aileron. After finishing all pilot holes, the ailerons were disassembled and debured. The left aileron was re-assembled with clecos and the counter weight holes were drilled (I couldn't get at them with the drill while the brackets were attached).
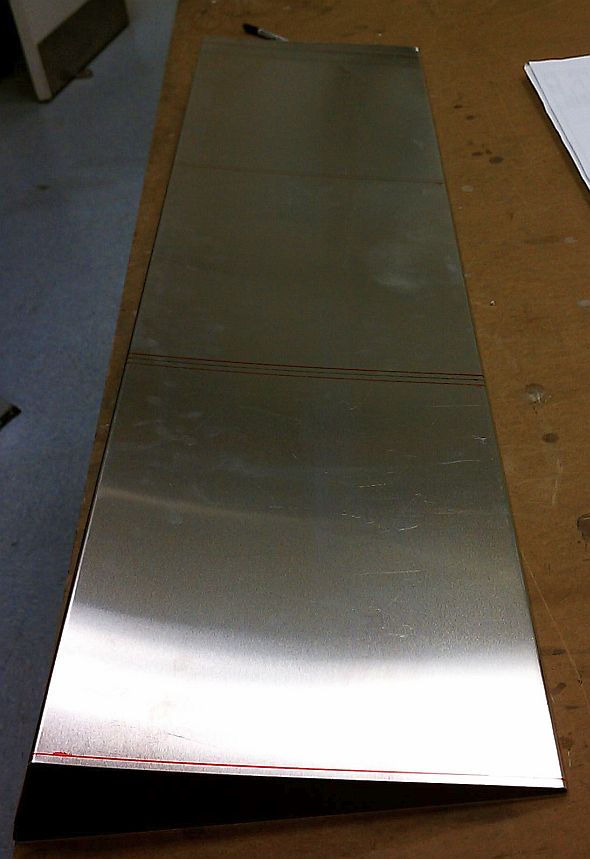
I made a small tool to draw the "Blue Line" down the center of the rib flange.
I used a 1/8" round file to make recesses in the aileron edge fold for the Counter Weight brackets. Most of the top skin holes were drilled in the left aileron.

I continued drilling aileron skins. Once complete, I debured the skins.
I made a jig to drill the counter-weight brackets. I drilled and clecoed all four ribs and CW bracket (W03-03) assemblies. I disassembled them and debured before clecoing it back together to up-drill to the final rivet size.
![]()


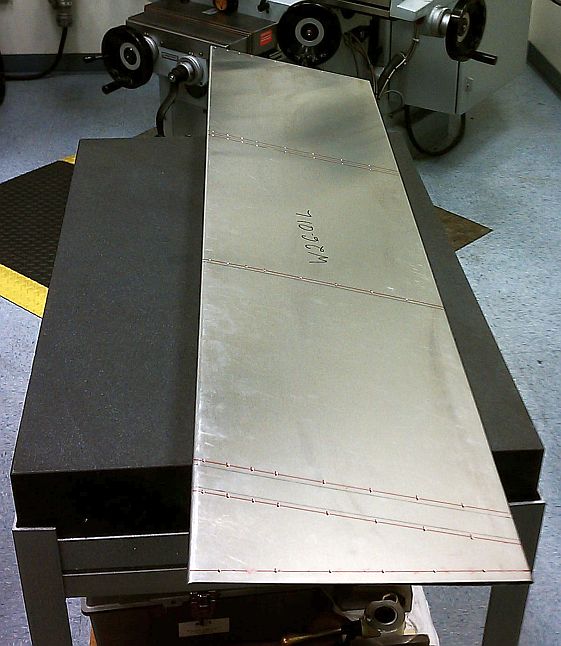
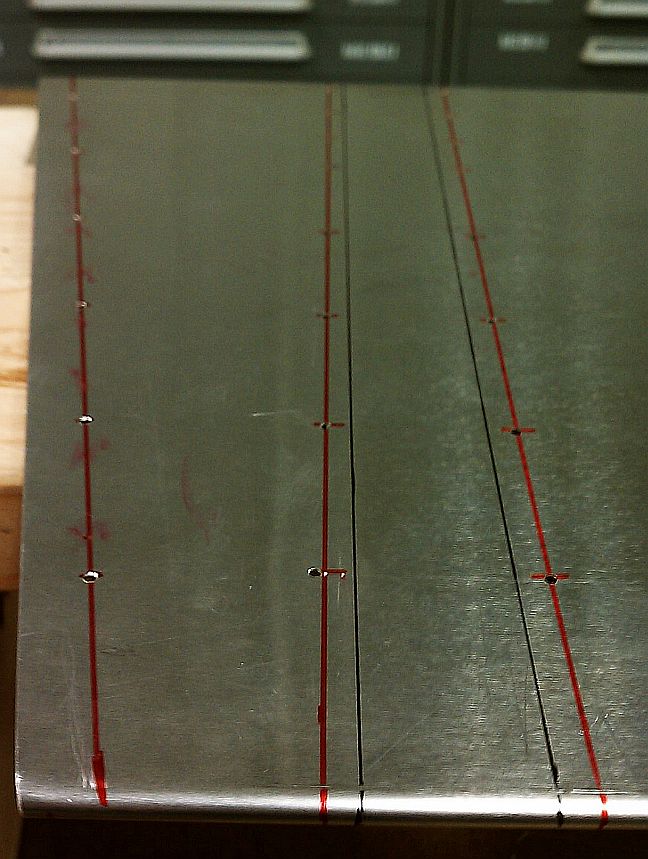
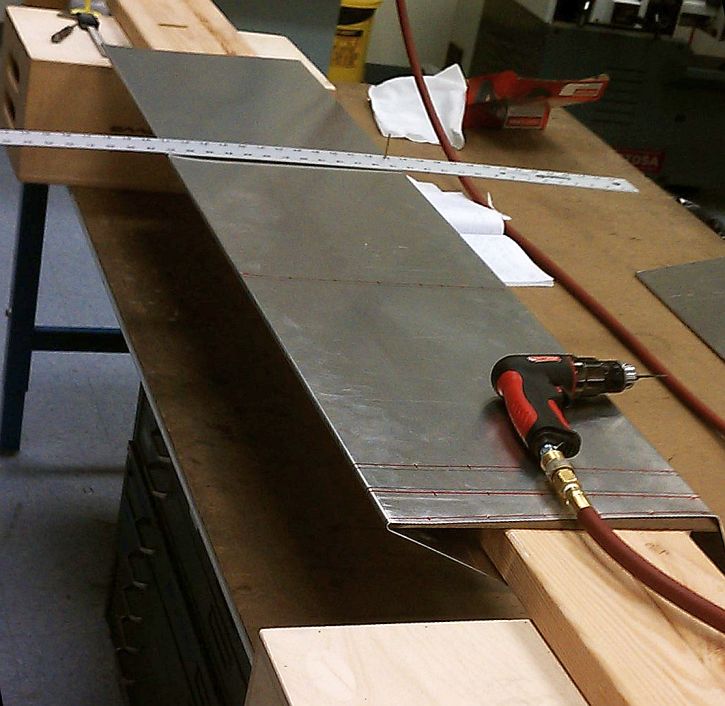
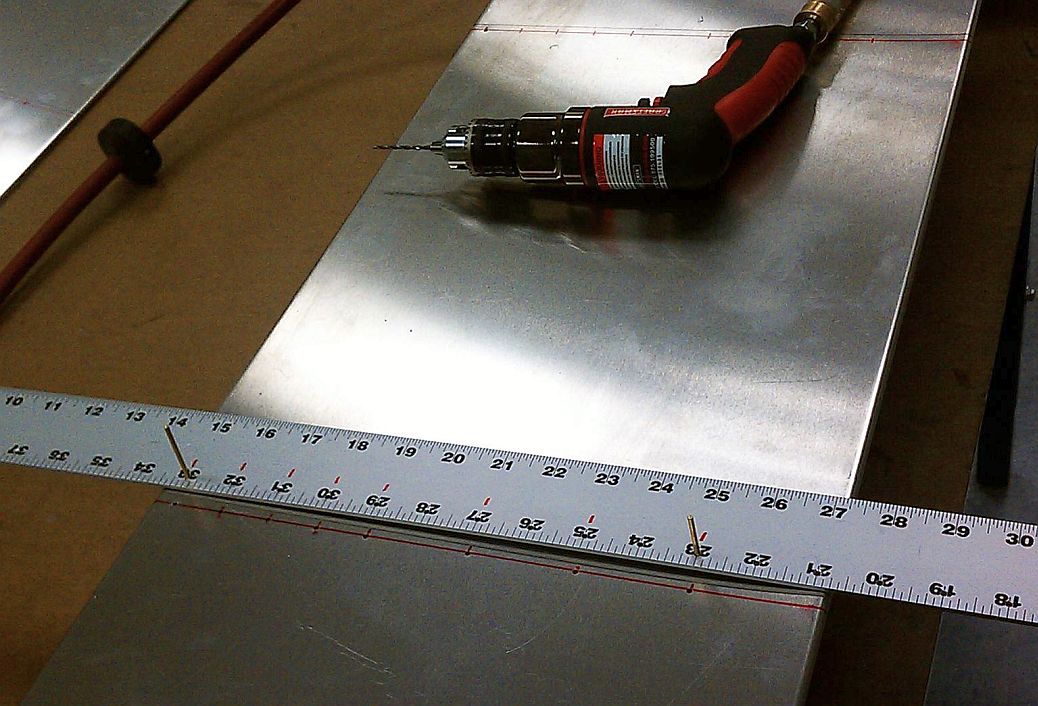
Continued marking and drilling holes in Aileron Skins.
I discovered a rivet line marking mistake. I cleaned the marks and re-measured & marked the right aileron skin. I continued uninterrupted with the left. I rechecked everything.... Measure twice, cut once. Hopefully, by now, I have learned my lesson... probably not, but I try to mitigate where possible. I drilled the holes in the bottom of the left and right aileron skins.

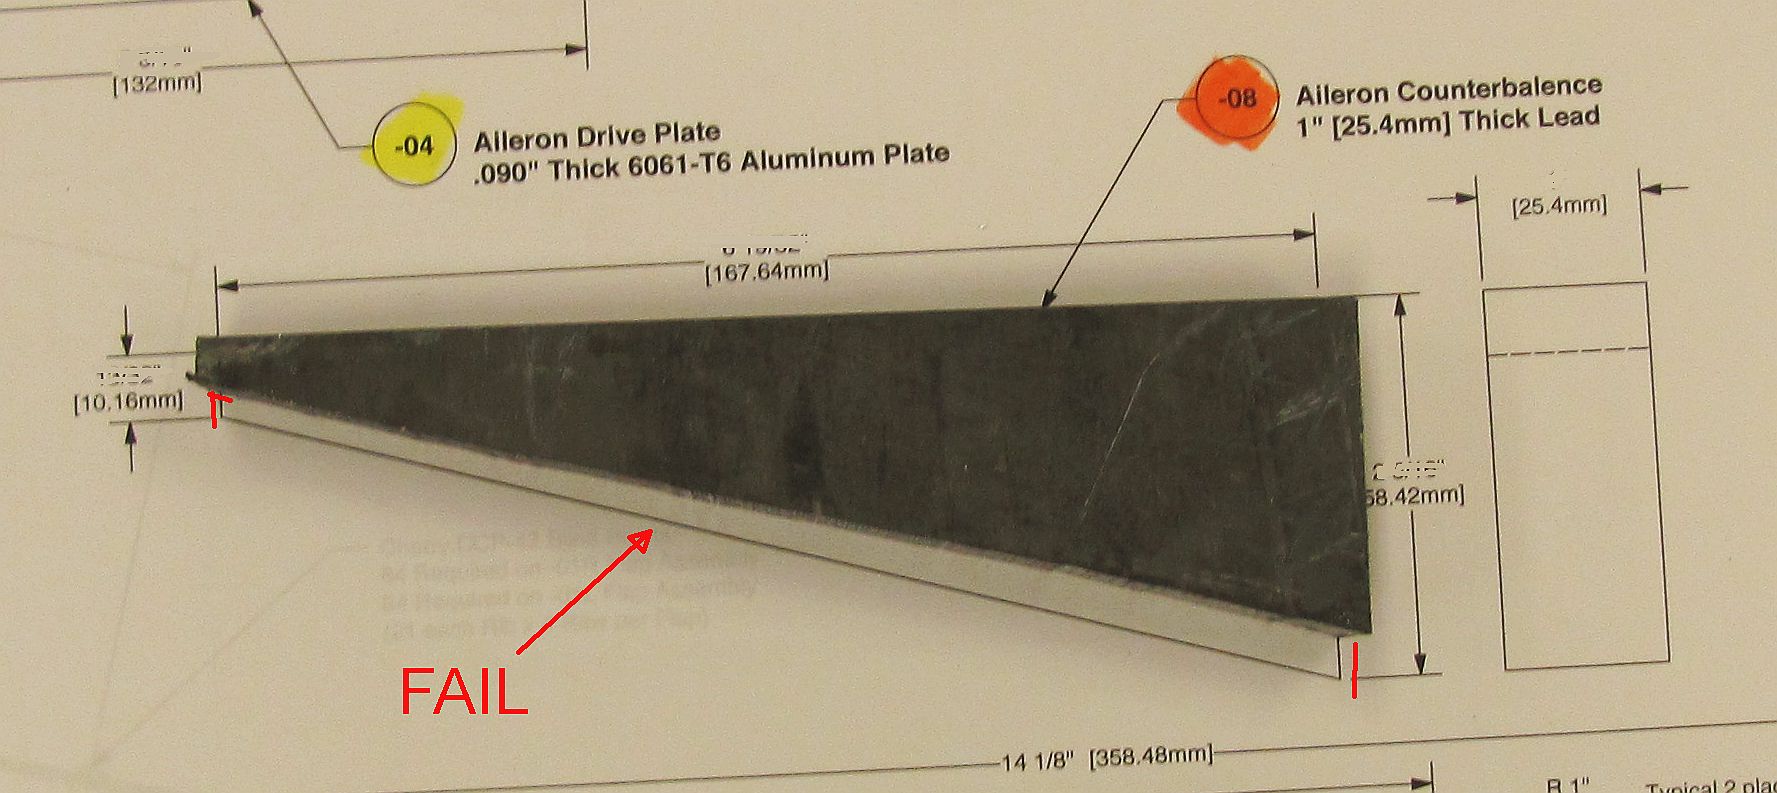
This was a fairly somewhat day. I cut and drilled my aerobatic aileron hinges (both sides) and then QC'ed both sets. My next project was to cut and drill the Aileron Counterbalance. This endeavour was a complete and utter FAILURE!!! Maybe I am getting pre-lead poisoning. I should have made one cut, but instead made 2, and now the parts are too small and too light. I think I am going to Melt it down and re-cast it. I also QC'ed the aileron skins. With the exception of the lead counterweight, the day was a success!


A Slow day, I updated the Google Doc. hours log.
Nothing of Note :-/ I worked a few minutes on this website.
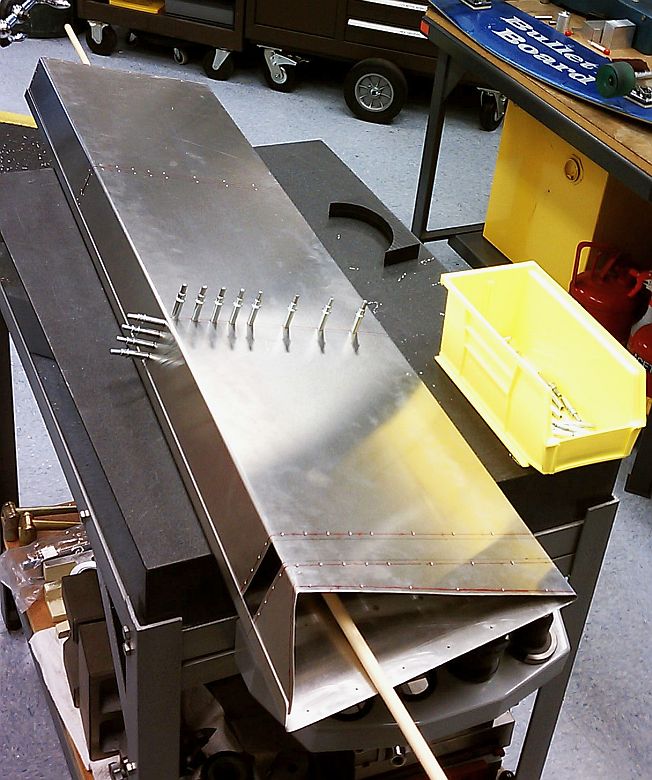
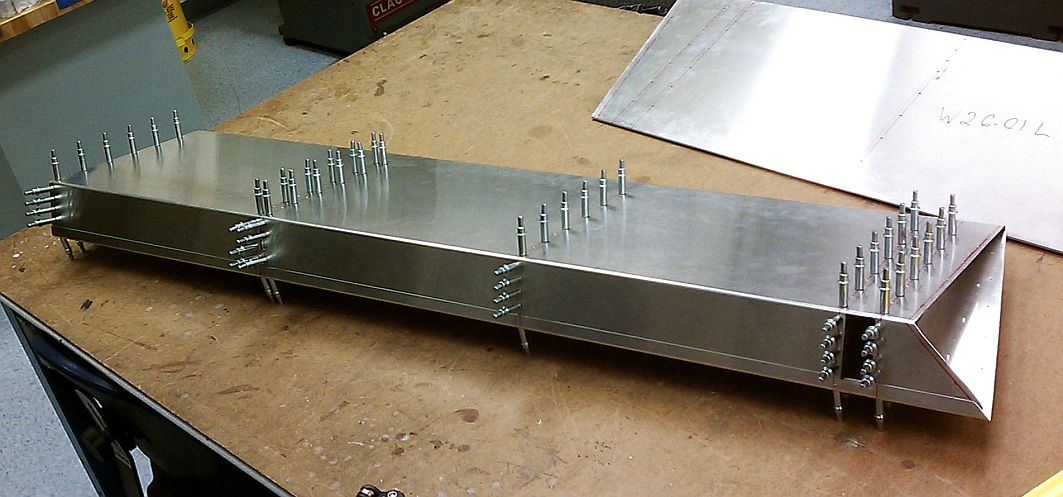
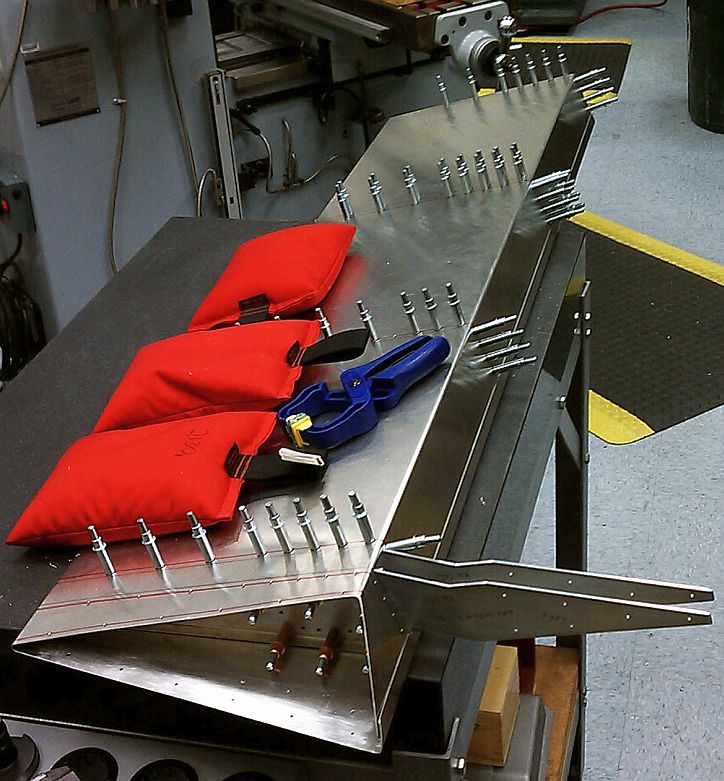
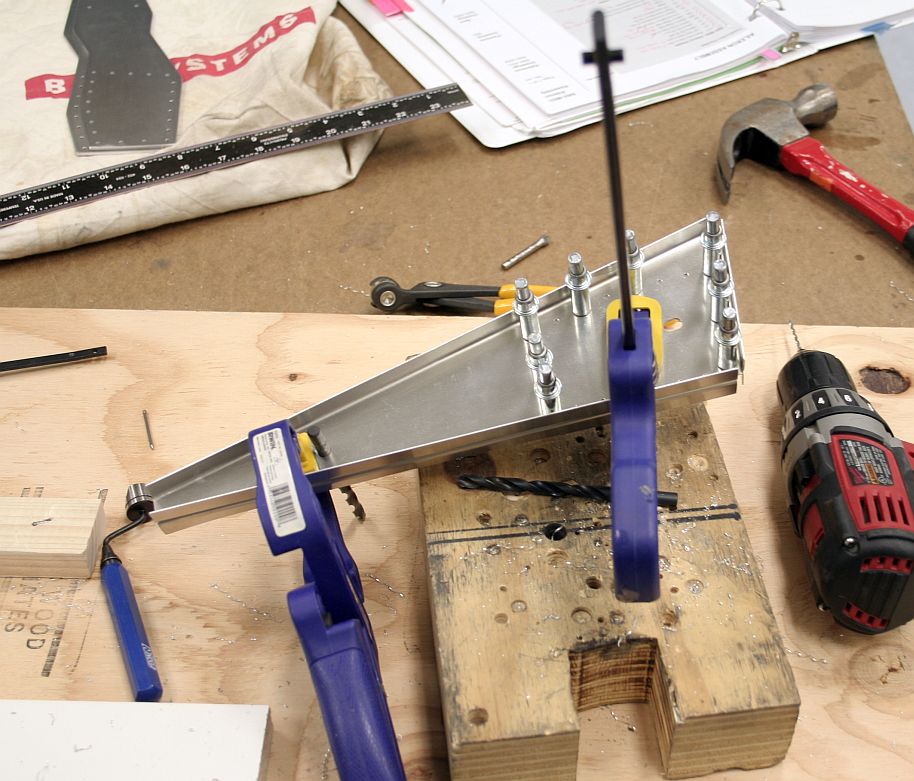
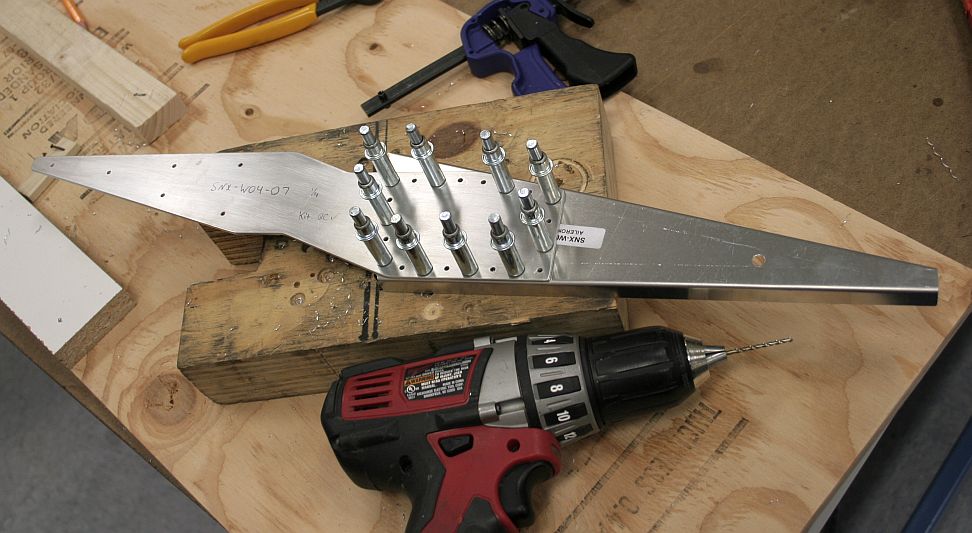
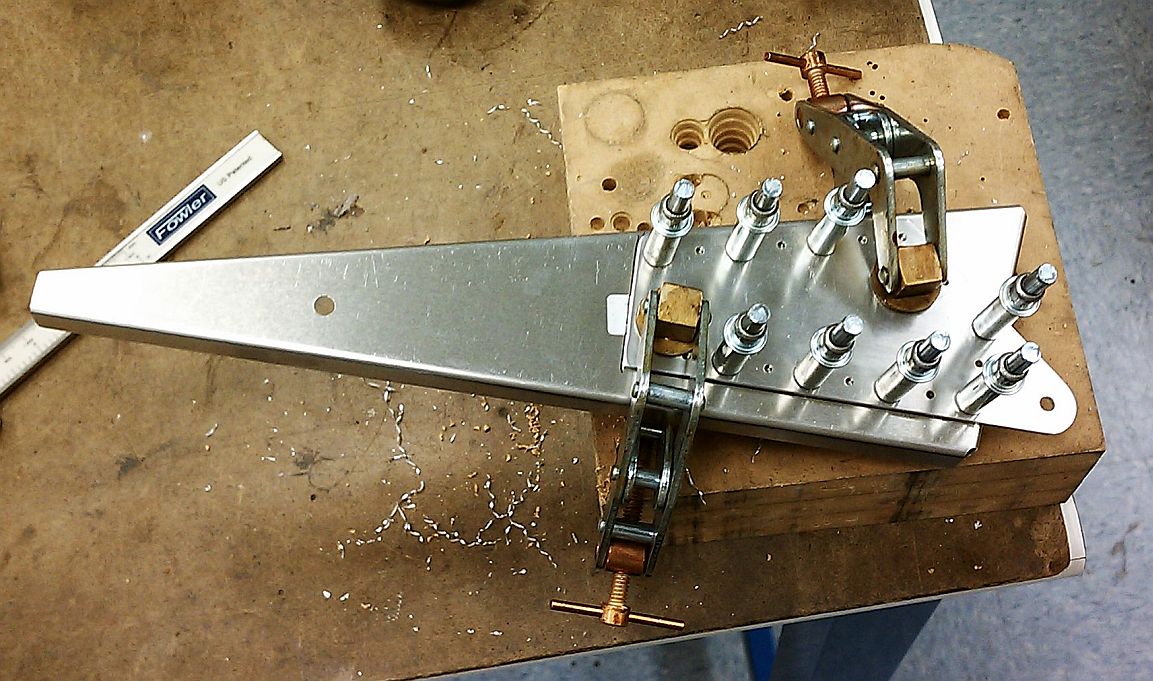
Tonight's big project was marking and drilling the Aileron Drive ribs. I used the drive plate as a drill guide to drill the ribs. I was able to drill and debur both assemblies. They are complete except for final riveting and QC inspection.


![]()
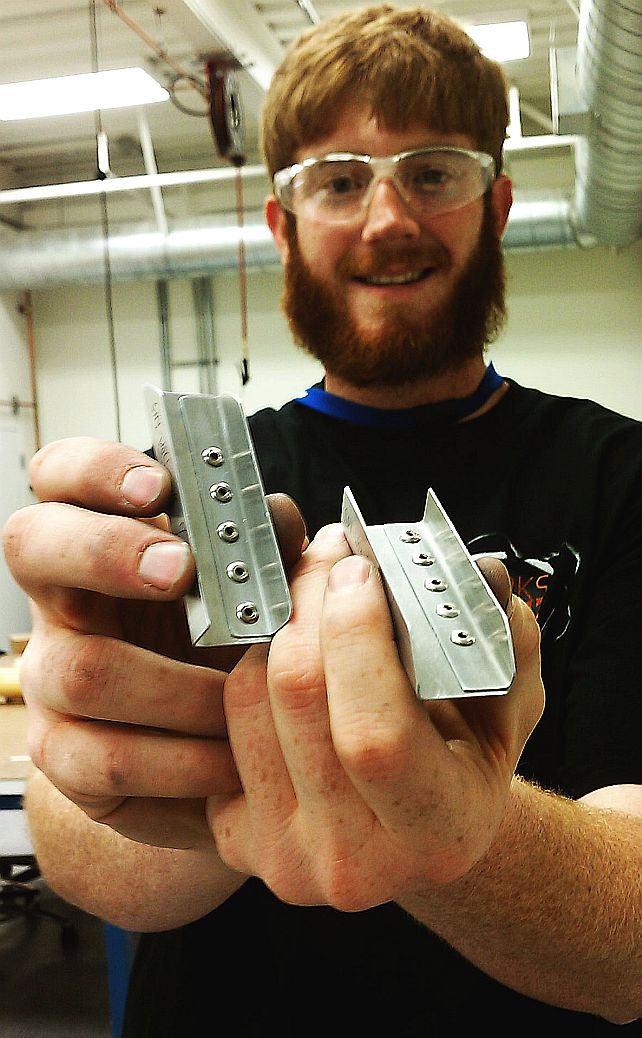
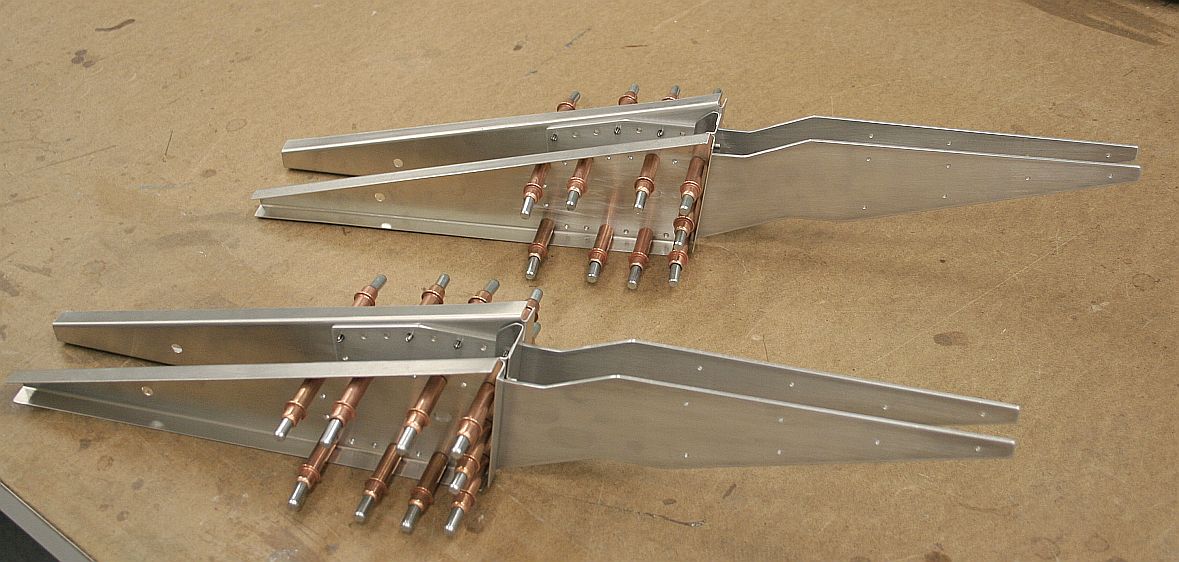
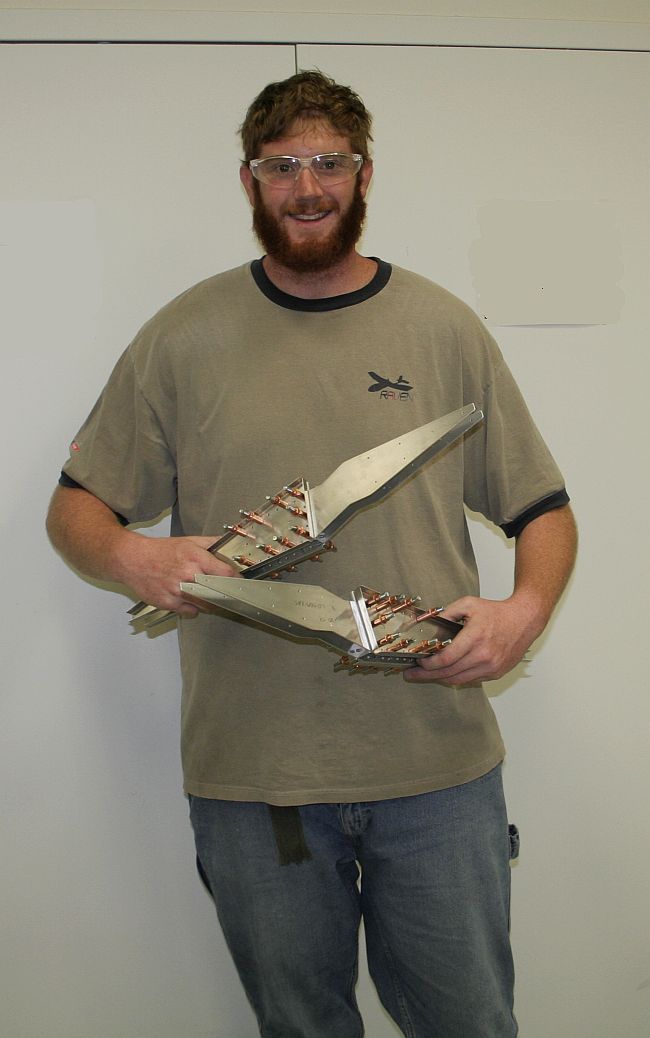
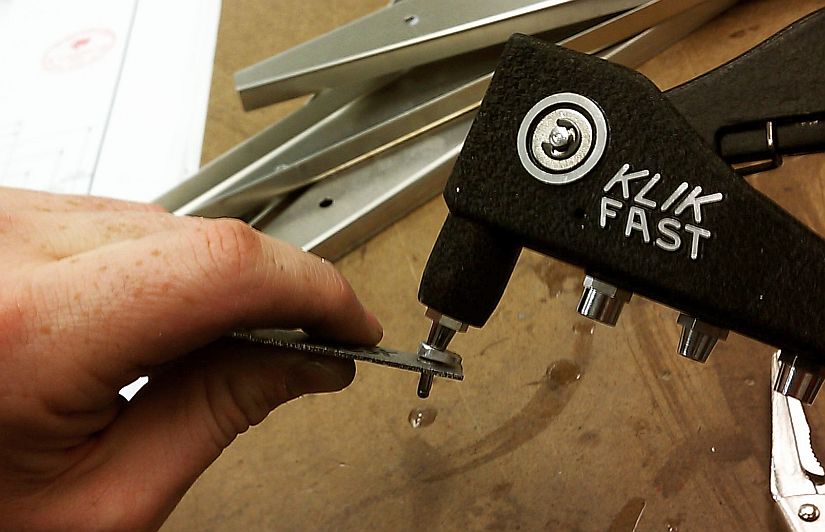
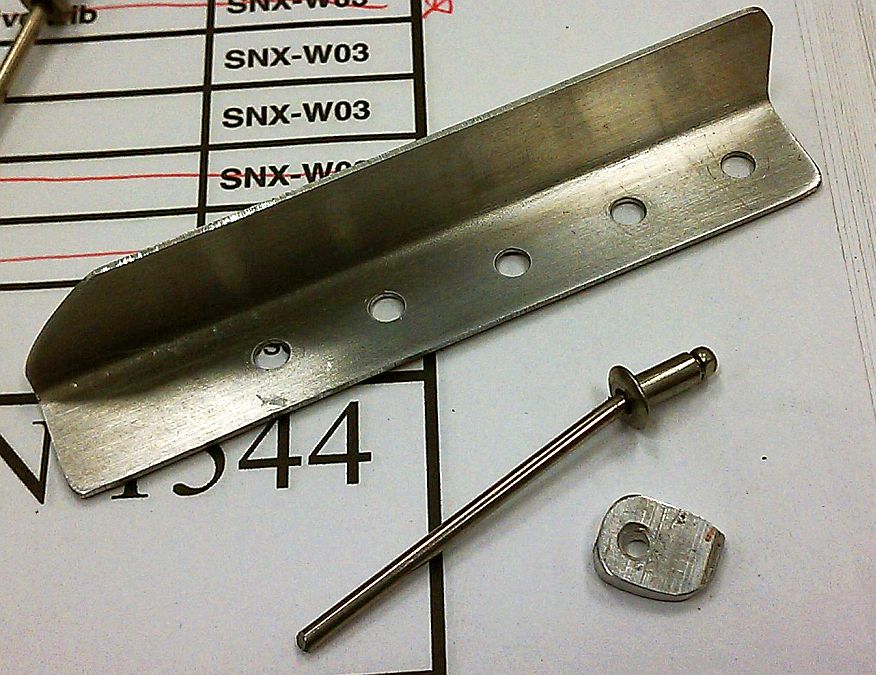
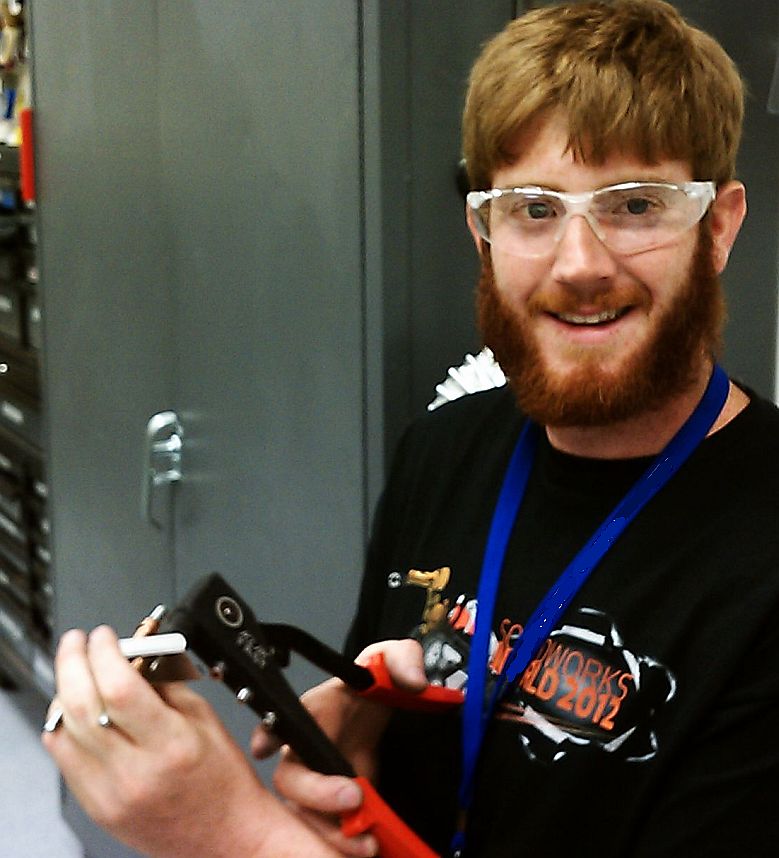
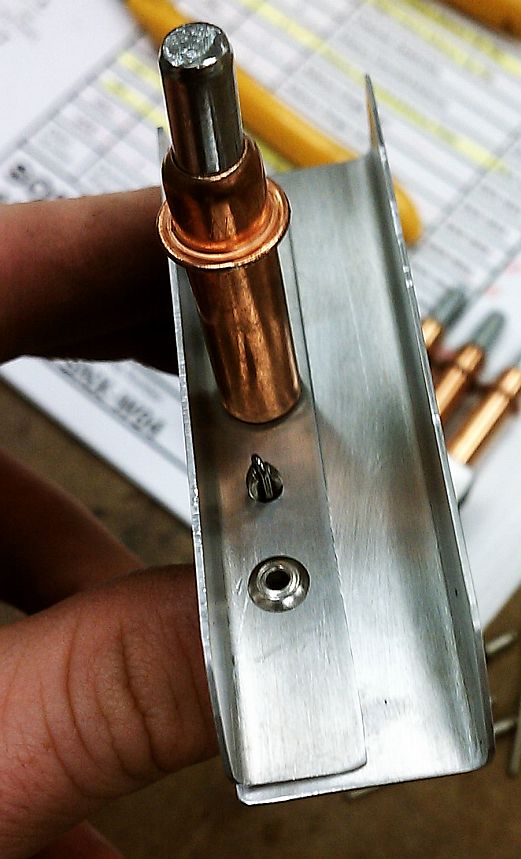
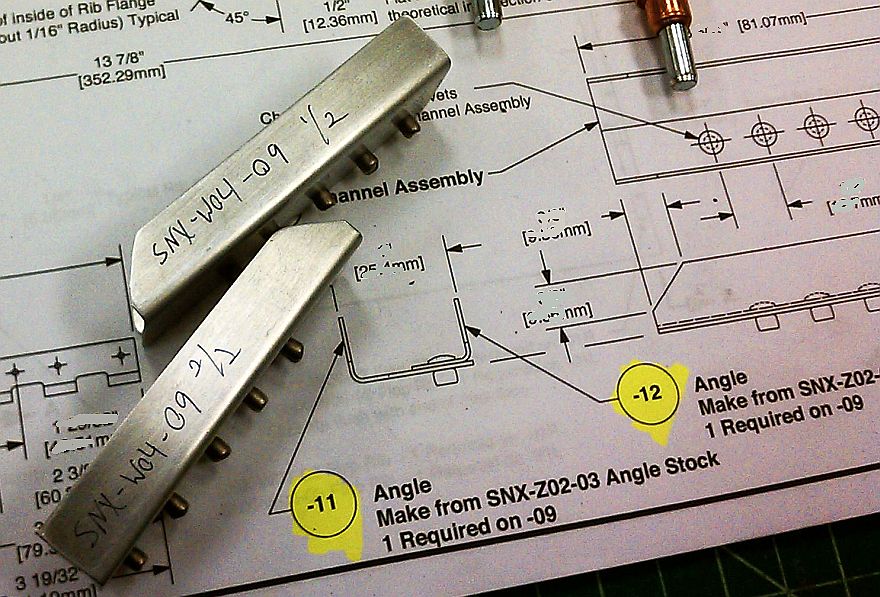
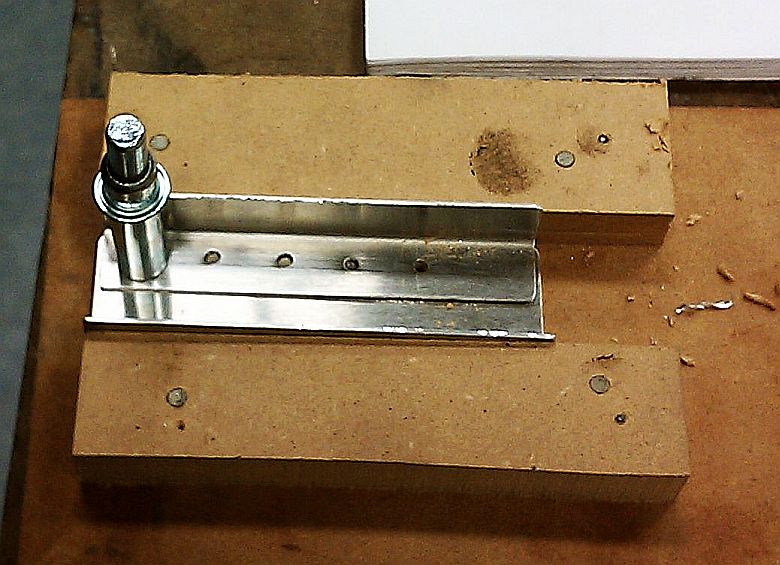
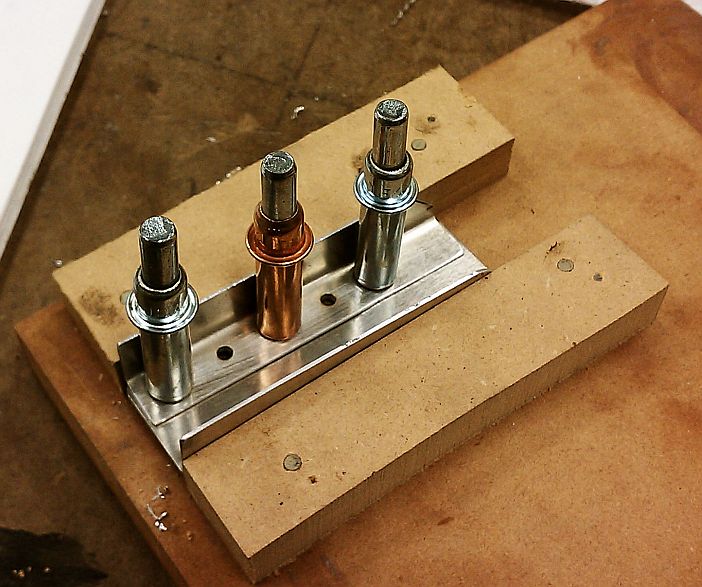
I Popped my First Official Rivets!!!! I riveted W04-11 and W04-12 together to make W04-09. I made qty 2. This assy has 5 rivets. I riveted the first one together. My buddy Lane took my picture. I set the first rivet in the second assy and Land popped the 2nd one. Now he will have to ride in the plane! The rivet Gun was too big to fit into the small C Channel, So I made a Rivet Wedge to assist. Before Barreling in, I riveted a test part.
*** Lesson Learned: Stainless Steel Rivets are REALLY Hard to Pull!!!!


Paperwork :-/ I worked late on "Work" Stuff. I had planned to go get night current in the 172, but the vacuum pump failed and the plane is in for maintenance :-(
So, I tried to be productive and Finally update this Web Log. I also updated my Google Hours log and QC Log.
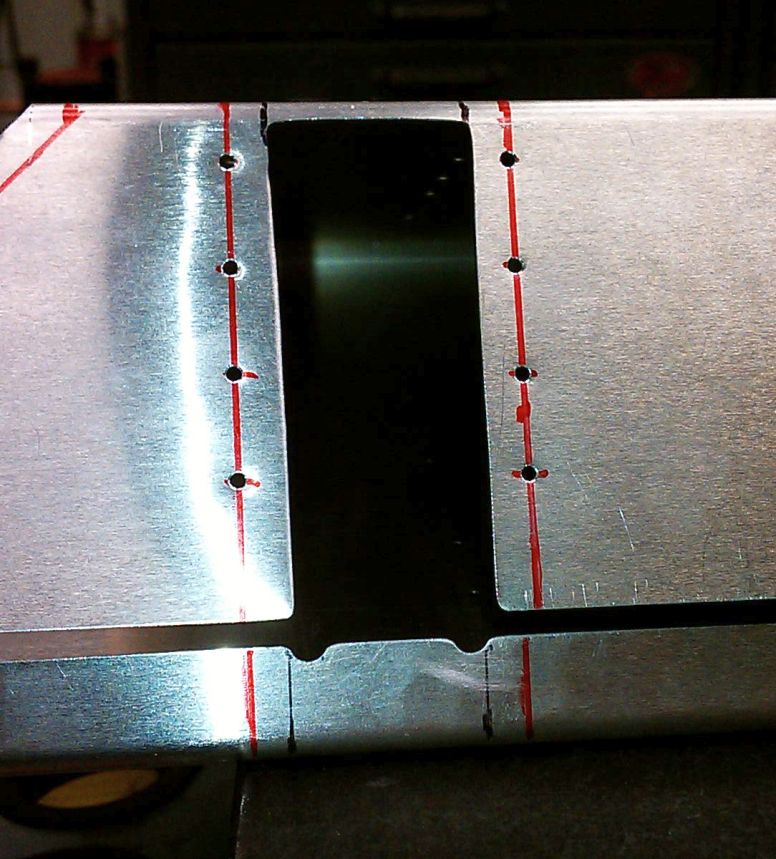
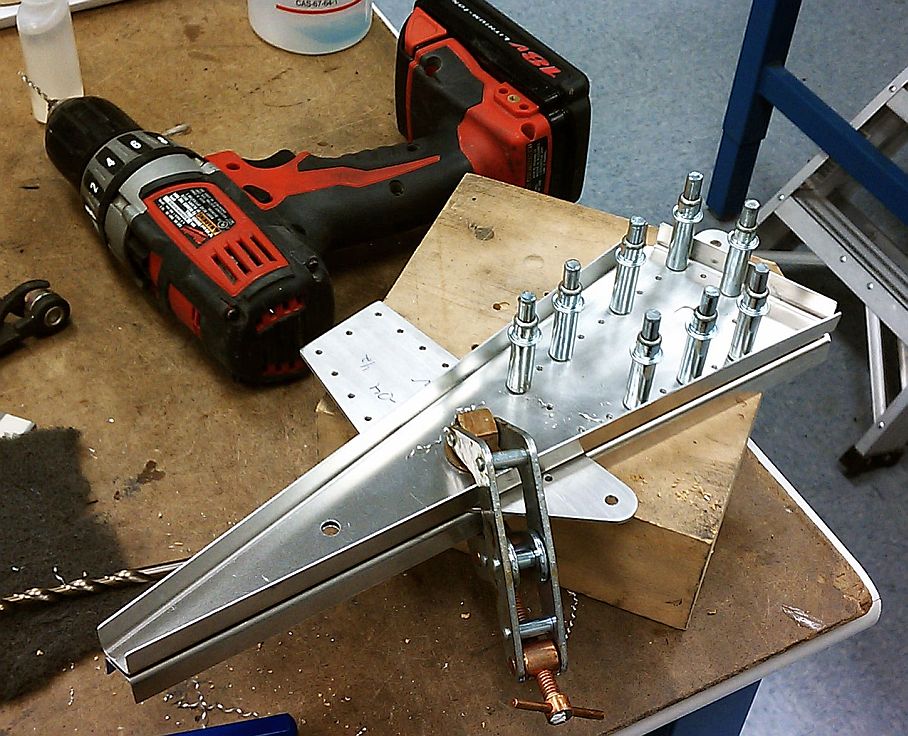
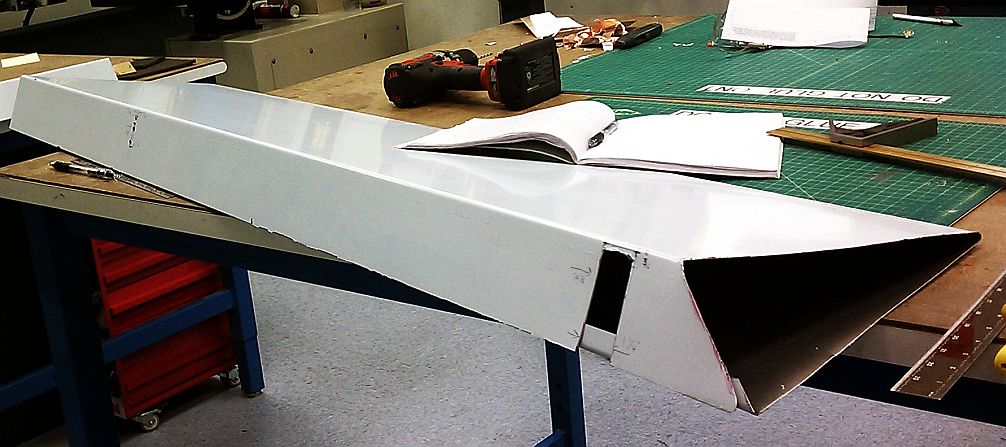
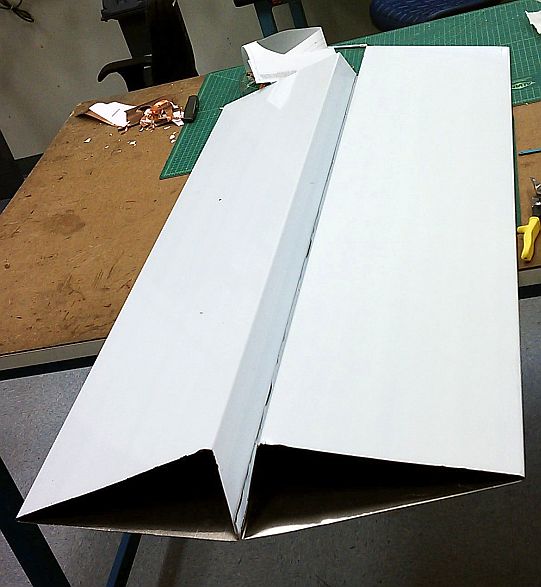
I studied the plans for the aerobatic ailerons. I measured and cut the skin tips. I then cut all of the slots in the leading edge of the aileron for the control horn and counter weight. I called it a night before completing the parts.
** I've decided to go with the aerobatic ailerons because I think I can have more fun! Due to dynamic pressures, the stick will not be more sensitive than the normal ailerons, but the aerobatic ailerons will allow me to roll faster if I push harder! I am giving up 1-2mph of landing speed. For example, my slowest landing speed is going to go from 40mph at gross to 42mph. I'm used to landing the Cessna at 60kts (69mph) So I don't think this will be a problem.
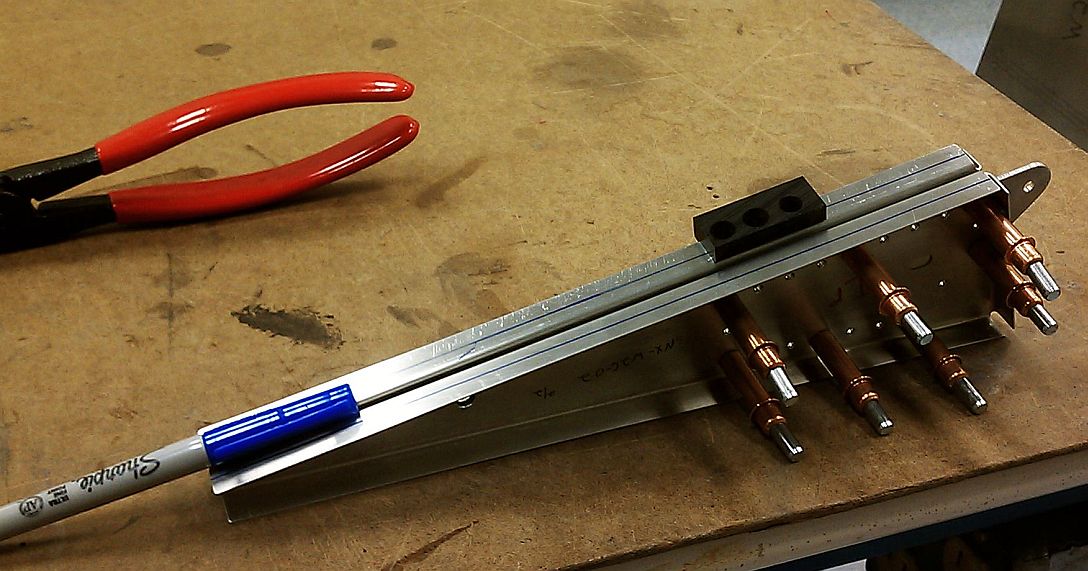
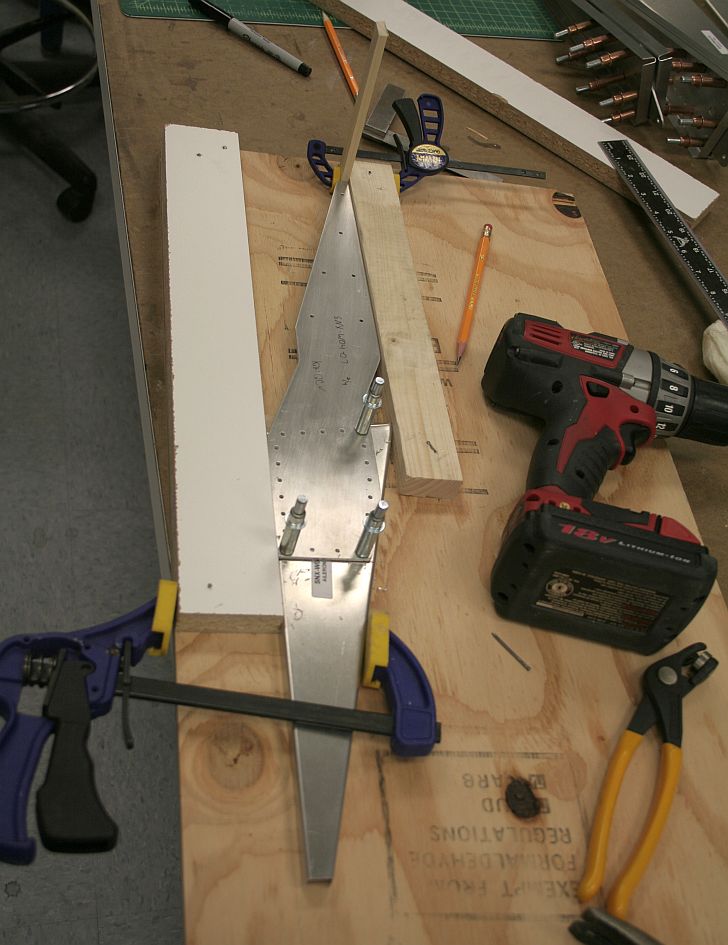
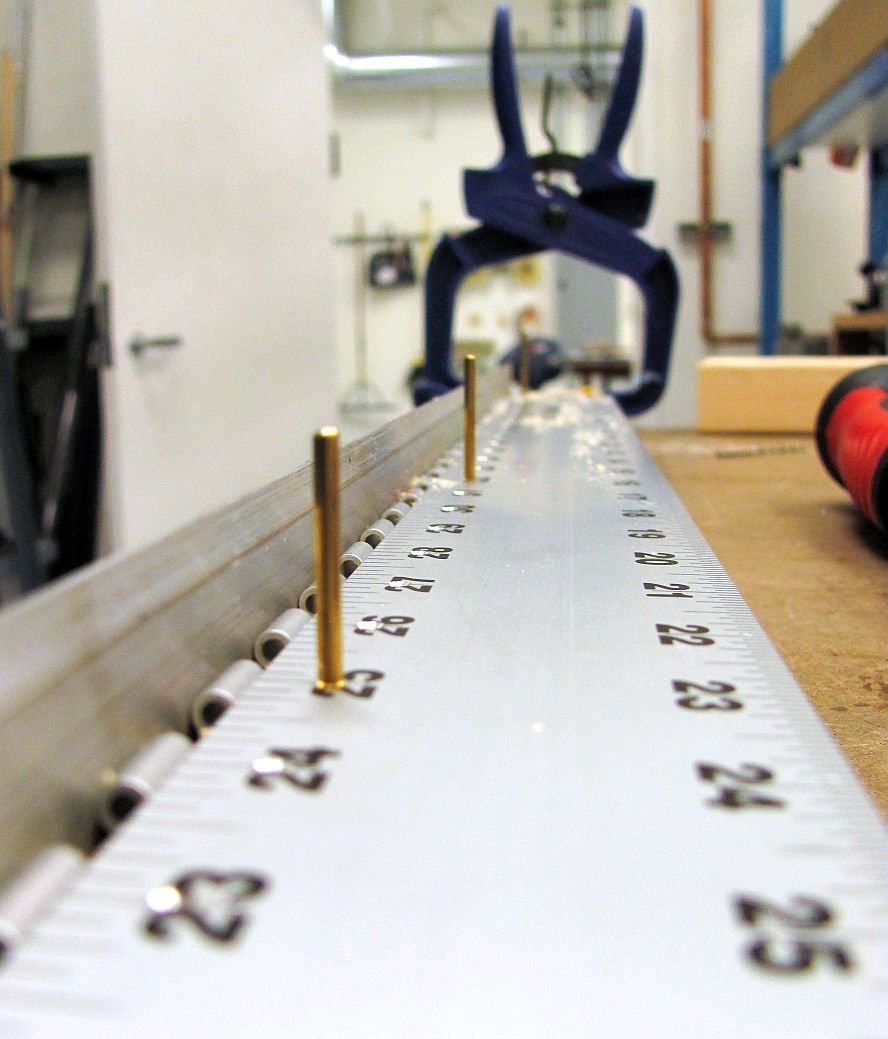
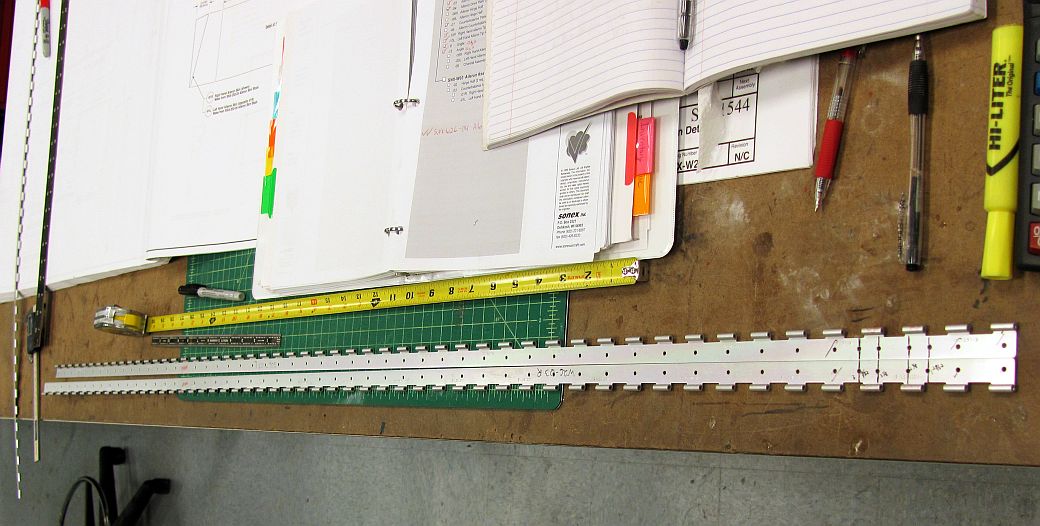
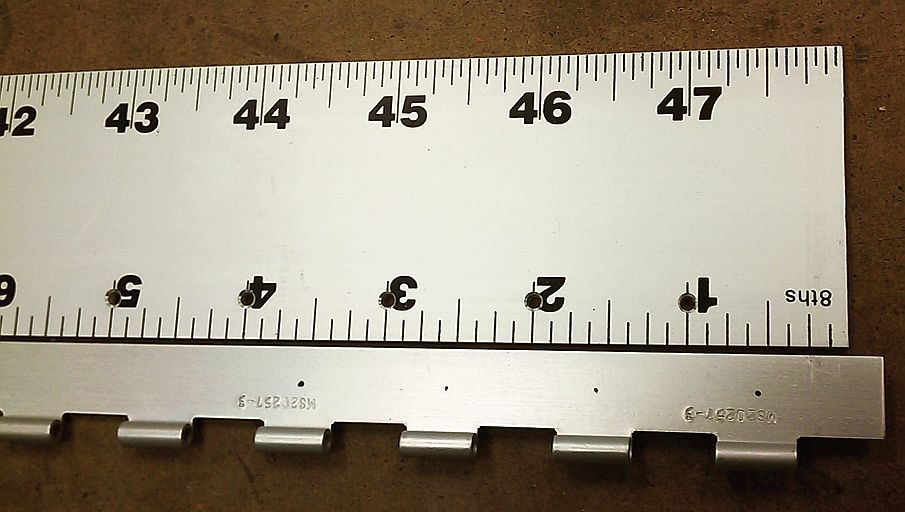
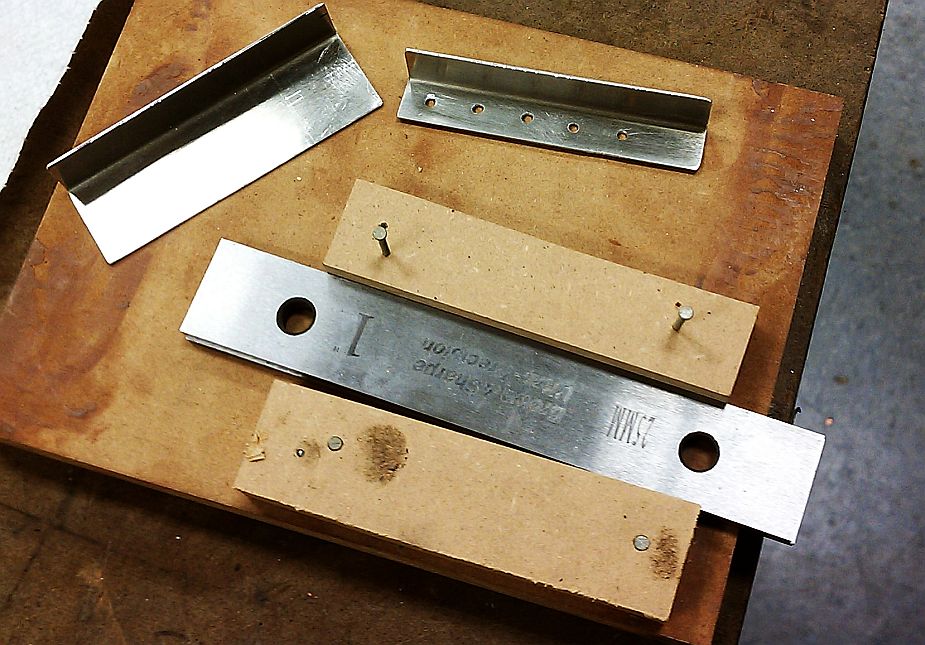
Sunday Work! I finished sanding all of the edges and burs I made on the aileron skins. I they are now complete sans total surface scotchbrite (not sure if I'll do it or not) and official QC. I made Angle parts W04-11 and W04-12. These parts make the C Channel that goes between the aileron balance arms. Both sets passed a quick QC check. I also Milled 3/32" holes at 1" spacing into my long Aluminum ruler. This will be used as a Drill guide for drilling the Hinges.
![]()

![]()
Back to SONEX Back to Ashton Aerospace